|
 Boundary Waters Quetico ForumGroup Forum: Boat Builders and RepairRanger 15 build
|
 Forum Sponsor

Author
Text
")

08/12/2018 11:06AM
This is my progress on the canoe. It is the Ranger 15 foot shown in the Canoecraft book. Thanks so much to Ms Joan Barrett and Mr. Ted Moores. With their book and videos they've help bring my dream to life.
I started about 2 months ago but took a few weeks off to do some fishing on Lake Insula with my brother and his hockey buddy, Chris. Overall it has only been a couple of months work.

There was about 2-3 weeks spent running errands of collecting wood, drawing station templates, building the strongback, cutting forms and installing and aligning them.
This is the current state.

I worked from the lofting tables in the Canoecraft book.


I found an app that calculated cut lists for my strongback and the station forms.

One thing I found helped me was to write the measurement directly on the templates. That way if I was fairing a curve between points and things seemed off a little, I had my numbers right there to compare with the tables and maybe even remeasure my plot.

I drew 1/2 the station on graph paper backed with poster board then flipped it to draw onto the wood for the full width form.
The canoe is symmetrical. So, I made two forms at a time by screwing them together before cutting and keeping them together even until they were fully shaped. This shows keeping the edges square. I really found satisfaction making the forms exactly to the specifications. I avoid sanding machines as much as I can and will quickly grab a plane or such that doesn't involve sanding. (see below on my use of the flush cut pull saw)


For the most part the project has gone very smoothly. I discovered a few discrepancies from the measurements in the book to what I found in actual practice. For example; even in the latest edition of the book the stem measurements are incorrect and I eventually found the correct ones on the Bear Mountain builders forum. Thanks to all the great folks on the forum. I wouldn't have gotten to this point in my build so quickly without all the great advice on the forums!
One thing that I learned the hard way was just how careful I needed to be when manufacturing strips. (This has given me more opportunity to hone my fairing skills.) However, I also learned the benefits of using both cove and bead as well as flat-edged strips. For my next build I will be using many more flat-edged since I found these to be much quicker to install.

I built without staples and found clamping to be very quick and easy. Just make sure your clamps and brackets from the previous strip are all set up for the upcoming strip. I made a strip holder used for applying glue to the strip and clamped it to the top of the stations at the centerline since I decided to build with the cove down and bead up.

Masking tape was used to protect installed strips.

I started stripping the first strips by applying glue the entire length of the 15 foot strip. Then I would try to position it in the center station press it against the lower strip trying to seat it until I saw some glue squeeze out then clamp that station. And I would work gradually toward both ends alternately pressing the strip, watching for glue, clamp and move toward the other end. On the tight curves and bends it would take considerable time to get the strip fitted tightly.
On some strips it took so long for me to work back and forth clamping and pressing one strip to another that the glue would be drying before I had the strip fully seated along its length. This led me to another lesson I learned which was to fit the dry strip in place first with many of the clamps and brackets. Then, starting from one end I gradually lift the clamp(s) to allow the strip to expose an edge, glue and then refit the strip. This way of gluing has allowed me to get the glue on the edge, fit it briefly, check glue adhesion and refit permanently.
Creating the laminated stems humbled me. I decided to make the inner stems from cedar and the outer stems from ash. The outer ash stems turned out like a work of art. They should have because I had four lessons on how to make them. The first cedar inner stems were steamed in PVC for about 30 minutes. They broke quickly during the bending process. The second set didn't break but was twisted. Then I made a bending jig, used steel banding on the outer strip and was successful by using bathtub soaked cedar and ash.


I also found some great tools that helped me along the way.
One tool I found while shopping for bungee cords was cam-lock ropes. I found these performed far better than the bungees because I could apply the amount of pressure I wanted. Just be careful to use a strip protector when you reef down on some stubborn areas or you will soon become skillful in making patches for dented wood.

Another tool that I've found works wonderfully is a flush cutting saw. I actually have a small and large version. These saws make fairing the hull a breeze. When used merely as a flat saw, these will take off the glue lines with ease. Then keeping the flat back of the saw against the flat hull you can cut the proud corners off on strips that are on bent areas just like using a huge plane. These saw blades produce super thin shavings and because they are flexible will bend to conform to the hull shape but still keep the blade teeth in a straight line.
This flush cutting saw is especially nice to use when you encounter strips with slight elevation differences on the flat areas of the canoe. You can change the angle of attack of the teeth to cut ever so slightly as you sweep along the uneven strips. Then the blade will leave a kind of striped effect on the higher elevated strip and not touch the lower elevated strip. Then you can sweep the saw back over these cut stripes with a reverse move and cut those stripes off perfectly. Think about how logs were hewn flat by chopping lightly on the face and then chiseling out the waste.


I'm installing the outer stems now.

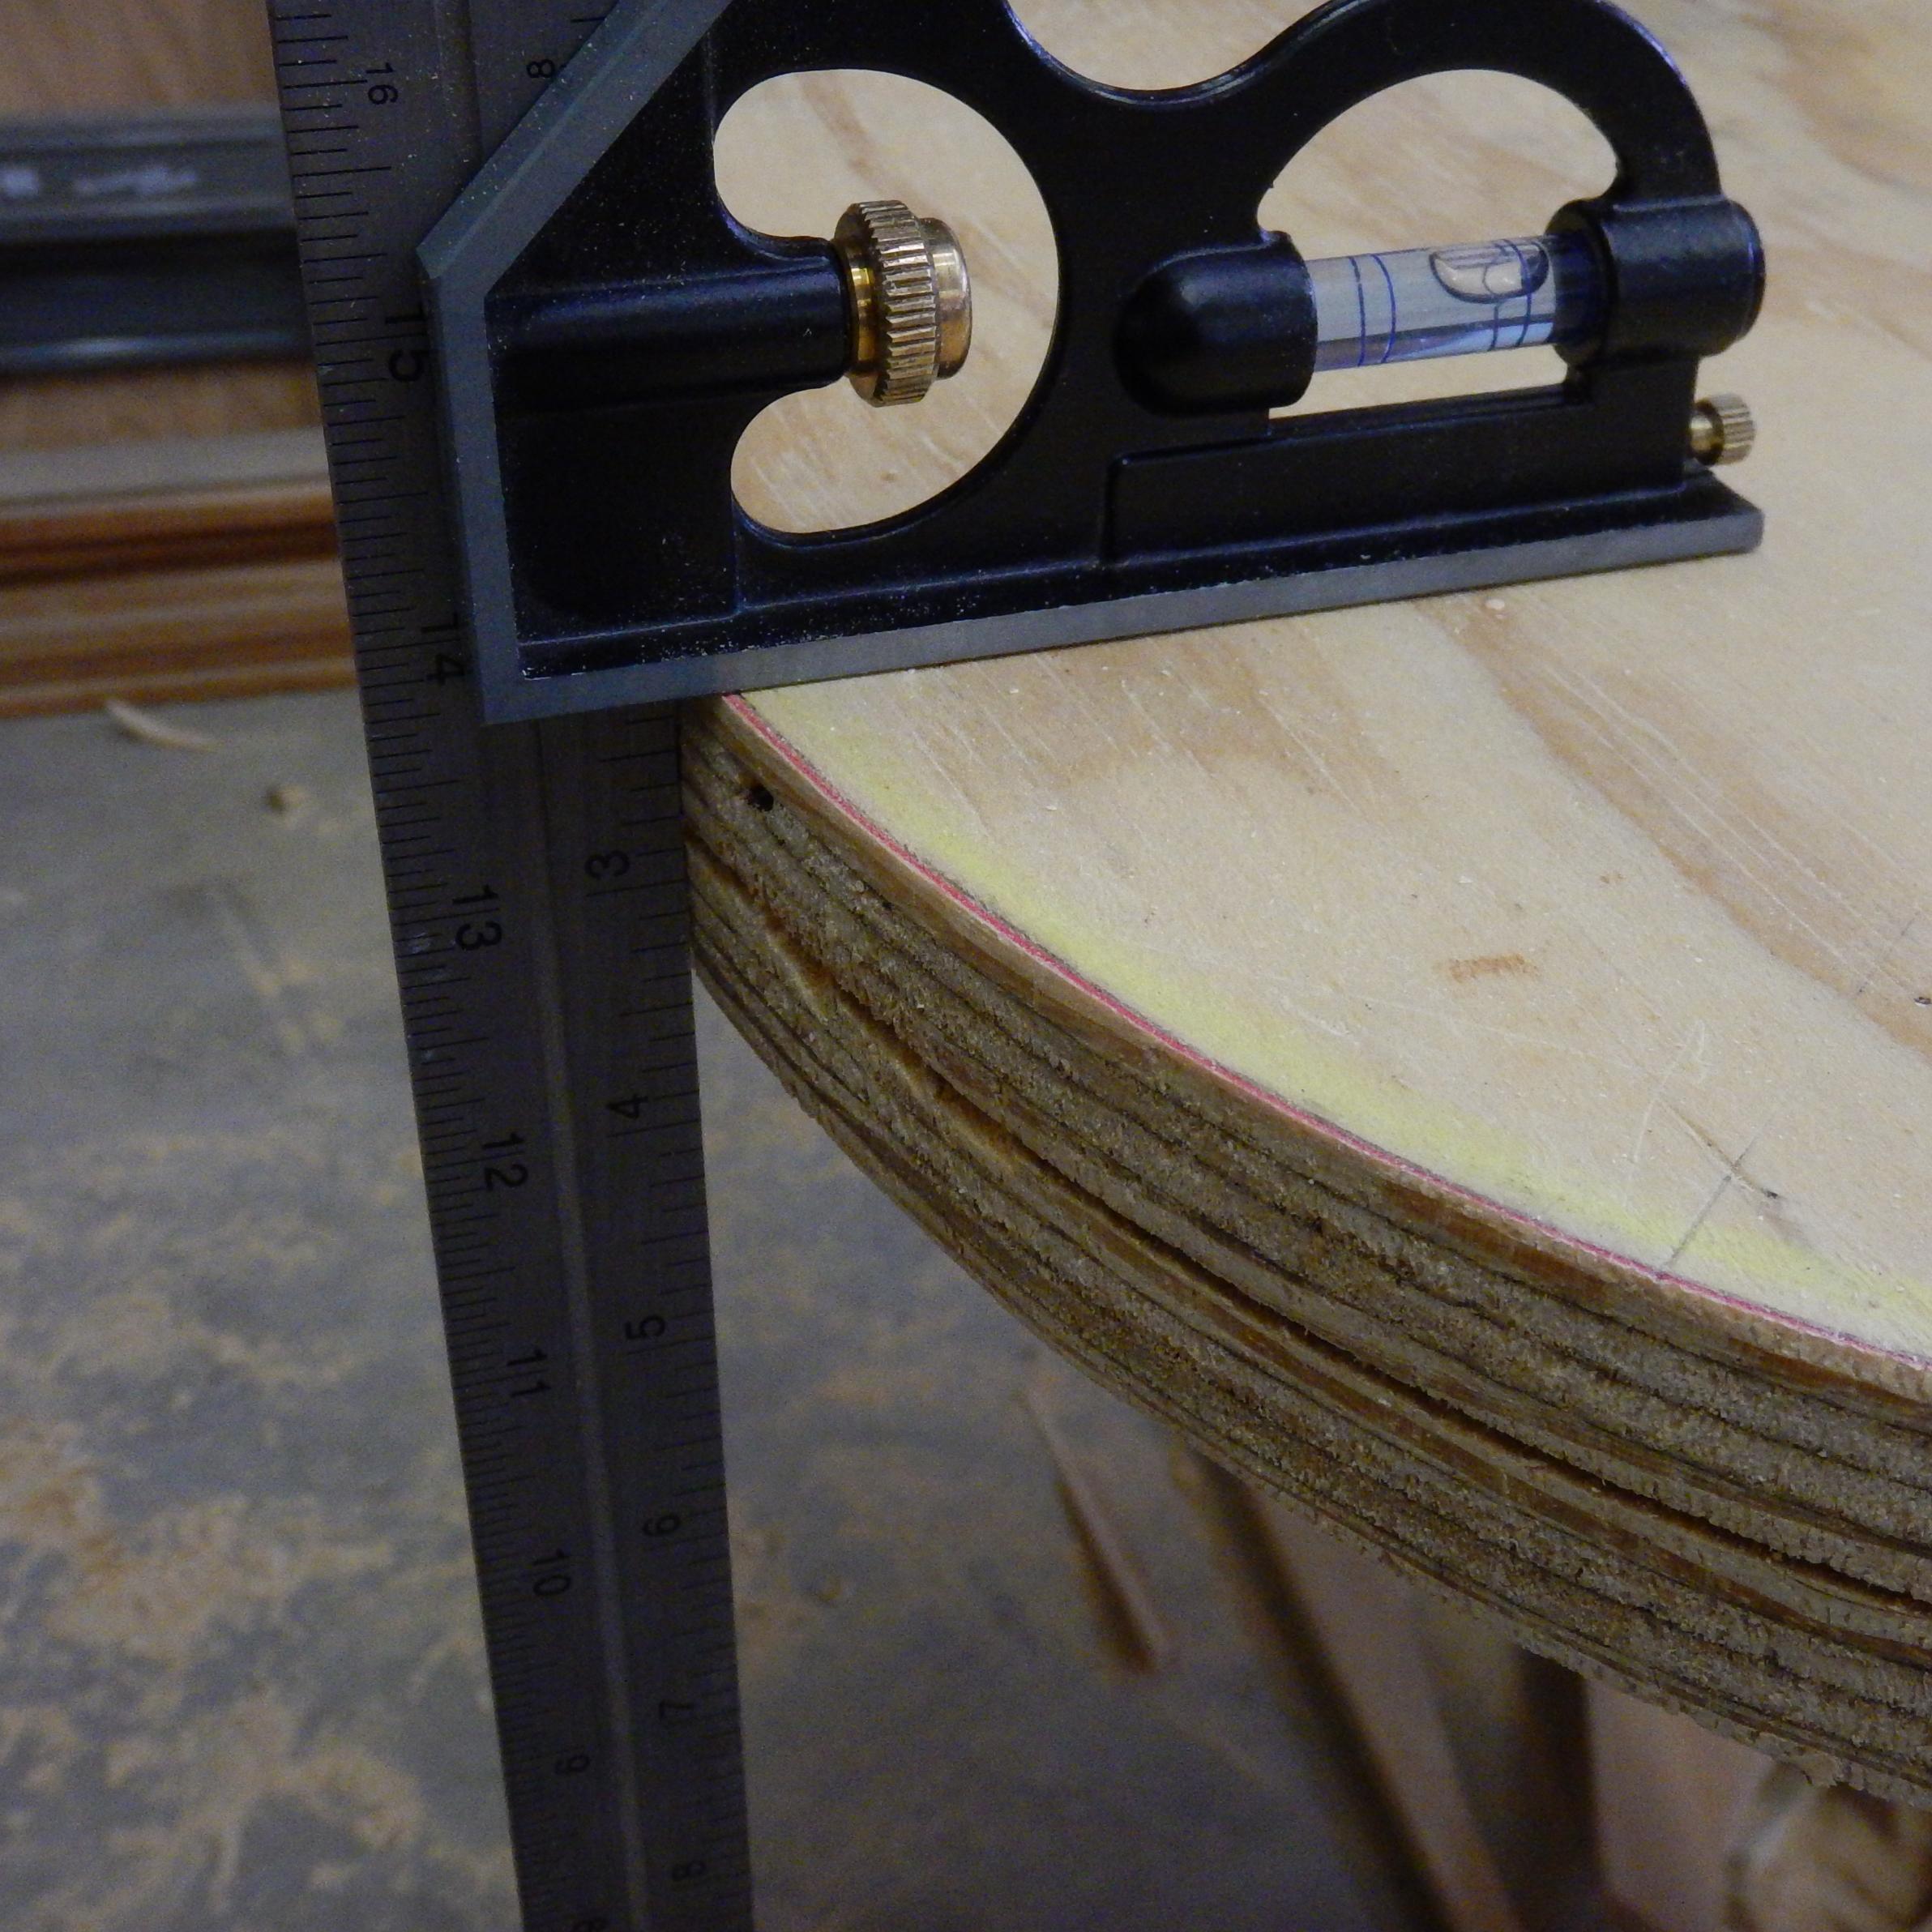
I put the masking tape on just after the layout line was drawn on the wood. Then, as I cut the mortise lower near the transition I was able to see how much deeper I was cutting by looking at the edges of the tape being nibbled away.

I started about 2 months ago but took a few weeks off to do some fishing on Lake Insula with my brother and his hockey buddy, Chris. Overall it has only been a couple of months work.

There was about 2-3 weeks spent running errands of collecting wood, drawing station templates, building the strongback, cutting forms and installing and aligning them.
This is the current state.

I worked from the lofting tables in the Canoecraft book.


I found an app that calculated cut lists for my strongback and the station forms.

One thing I found helped me was to write the measurement directly on the templates. That way if I was fairing a curve between points and things seemed off a little, I had my numbers right there to compare with the tables and maybe even remeasure my plot.

I drew 1/2 the station on graph paper backed with poster board then flipped it to draw onto the wood for the full width form.
The canoe is symmetrical. So, I made two forms at a time by screwing them together before cutting and keeping them together even until they were fully shaped. This shows keeping the edges square. I really found satisfaction making the forms exactly to the specifications. I avoid sanding machines as much as I can and will quickly grab a plane or such that doesn't involve sanding. (see below on my use of the flush cut pull saw)


For the most part the project has gone very smoothly. I discovered a few discrepancies from the measurements in the book to what I found in actual practice. For example; even in the latest edition of the book the stem measurements are incorrect and I eventually found the correct ones on the Bear Mountain builders forum. Thanks to all the great folks on the forum. I wouldn't have gotten to this point in my build so quickly without all the great advice on the forums!
One thing that I learned the hard way was just how careful I needed to be when manufacturing strips. (This has given me more opportunity to hone my fairing skills.) However, I also learned the benefits of using both cove and bead as well as flat-edged strips. For my next build I will be using many more flat-edged since I found these to be much quicker to install.
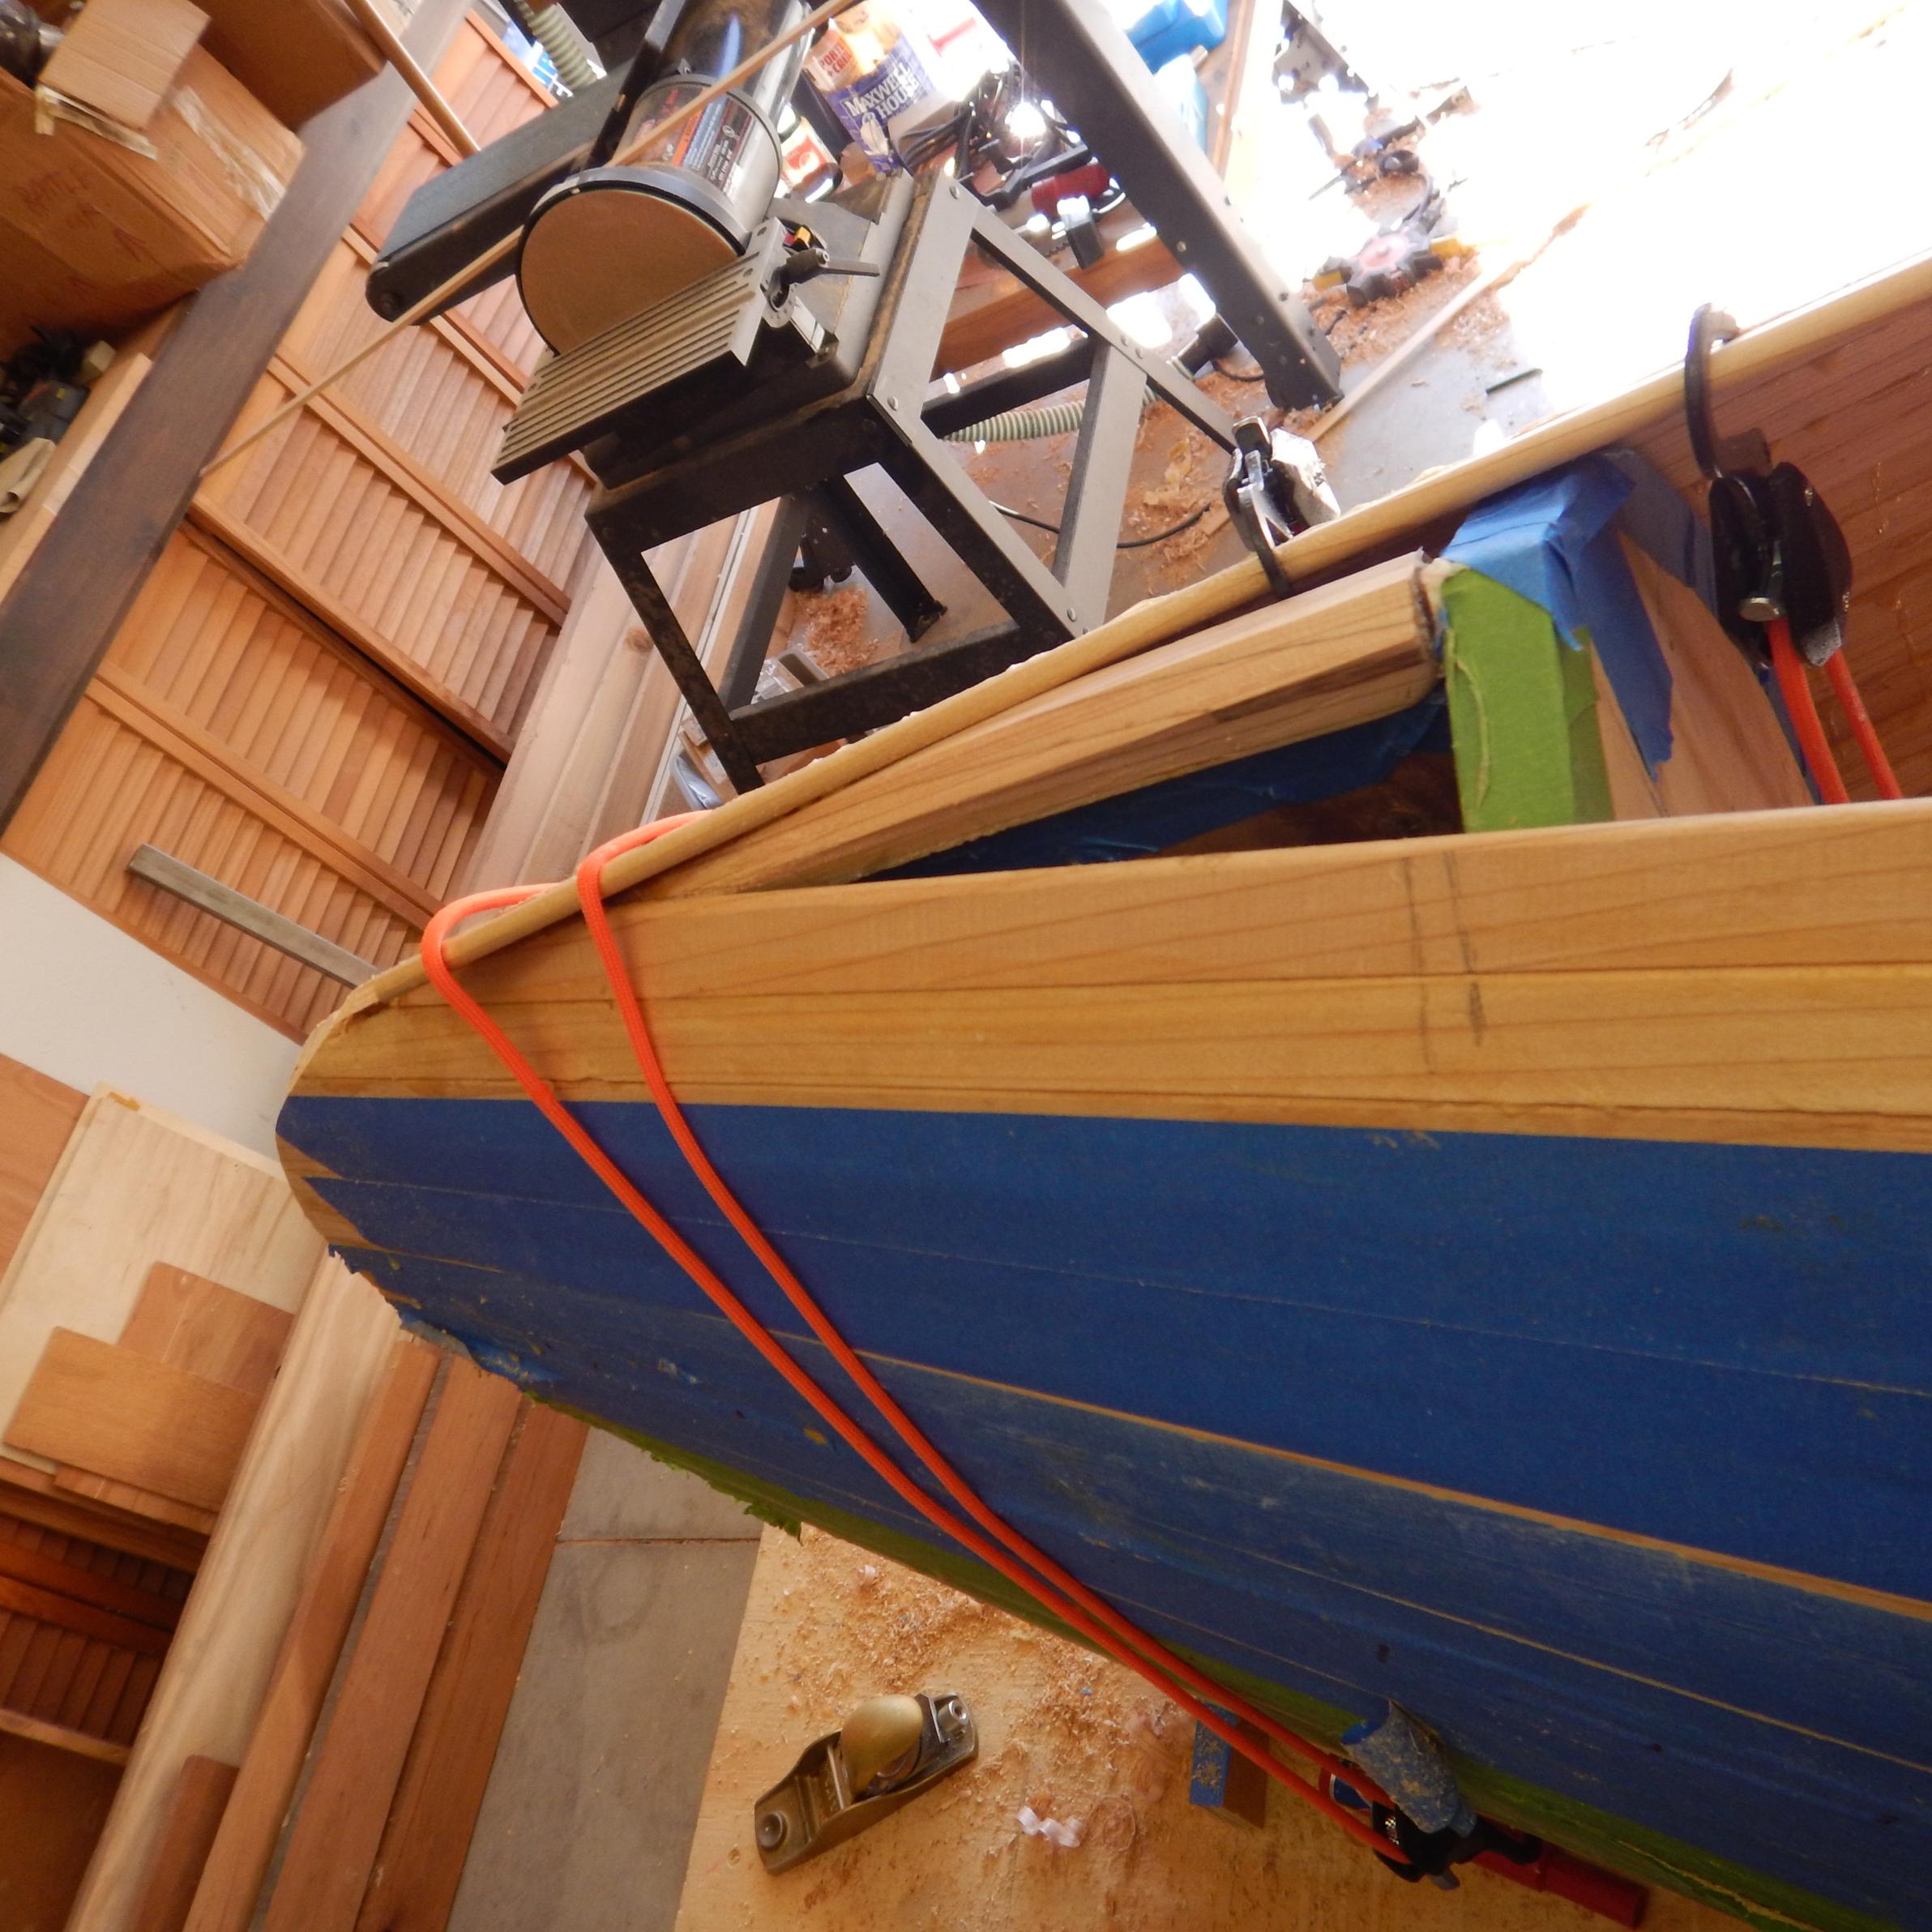
I built without staples and found clamping to be very quick and easy. Just make sure your clamps and brackets from the previous strip are all set up for the upcoming strip. I made a strip holder used for applying glue to the strip and clamped it to the top of the stations at the centerline since I decided to build with the cove down and bead up.

Masking tape was used to protect installed strips.

I started stripping the first strips by applying glue the entire length of the 15 foot strip. Then I would try to position it in the center station press it against the lower strip trying to seat it until I saw some glue squeeze out then clamp that station. And I would work gradually toward both ends alternately pressing the strip, watching for glue, clamp and move toward the other end. On the tight curves and bends it would take considerable time to get the strip fitted tightly.
On some strips it took so long for me to work back and forth clamping and pressing one strip to another that the glue would be drying before I had the strip fully seated along its length. This led me to another lesson I learned which was to fit the dry strip in place first with many of the clamps and brackets. Then, starting from one end I gradually lift the clamp(s) to allow the strip to expose an edge, glue and then refit the strip. This way of gluing has allowed me to get the glue on the edge, fit it briefly, check glue adhesion and refit permanently.
Creating the laminated stems humbled me. I decided to make the inner stems from cedar and the outer stems from ash. The outer ash stems turned out like a work of art. They should have because I had four lessons on how to make them. The first cedar inner stems were steamed in PVC for about 30 minutes. They broke quickly during the bending process. The second set didn't break but was twisted. Then I made a bending jig, used steel banding on the outer strip and was successful by using bathtub soaked cedar and ash.


I also found some great tools that helped me along the way.
One tool I found while shopping for bungee cords was cam-lock ropes. I found these performed far better than the bungees because I could apply the amount of pressure I wanted. Just be careful to use a strip protector when you reef down on some stubborn areas or you will soon become skillful in making patches for dented wood.

Another tool that I've found works wonderfully is a flush cutting saw. I actually have a small and large version. These saws make fairing the hull a breeze. When used merely as a flat saw, these will take off the glue lines with ease. Then keeping the flat back of the saw against the flat hull you can cut the proud corners off on strips that are on bent areas just like using a huge plane. These saw blades produce super thin shavings and because they are flexible will bend to conform to the hull shape but still keep the blade teeth in a straight line.
This flush cutting saw is especially nice to use when you encounter strips with slight elevation differences on the flat areas of the canoe. You can change the angle of attack of the teeth to cut ever so slightly as you sweep along the uneven strips. Then the blade will leave a kind of striped effect on the higher elevated strip and not touch the lower elevated strip. Then you can sweep the saw back over these cut stripes with a reverse move and cut those stripes off perfectly. Think about how logs were hewn flat by chopping lightly on the face and then chiseling out the waste.


I'm installing the outer stems now.

I put the masking tape on just after the layout line was drawn on the wood. Then, as I cut the mortise lower near the transition I was able to see how much deeper I was cutting by looking at the edges of the tape being nibbled away.

08/12/2018 10:24PM
Looking good. The Ranger is a sweet canoe to paddle. Good luck on yours. If you scroll back in time on this page you can find a post of my build.
"Boredom, Tyler - that's what's wrong. And how do you beat boredom, Tyler?... Adventure...(Never Cry Wolf, 1983)
08/14/2018 09:57AM
HPD, your Ranger canoe looks wonderful. I like the way you did the fore and aft thwarts and I will make mine the same way.
You mentioned that you used ash for the gunwales. I am using ash also. When you put the gunwales on did you need to steam bend them in advance or were they flexible enough without being pre-bent?
You mentioned that you used ash for the gunwales. I am using ash also. When you put the gunwales on did you need to steam bend them in advance or were they flexible enough without being pre-bent?
08/14/2018 09:53PM
Mark
I did not steam my inwales or outwales. They were tapered and that gave me enough flexibility. For both my inwales and outwales I started with 3/4" square material.
The last 24" of the Inwales were tapered down to a thickness of about 5/16" and that was just enough to have port and stbd inwales meet happily at the stems.
The outwales were machined in this order
1) round over top of outboard edge
2) cut 24" taper on the hull side of outwale in a way that matched the inwale taper
3) bevel the bottom outboard side of outwale so I had a 5/8" thickness facing out and 3/4" thickness on hullside.


"Boredom, Tyler - that's what's wrong. And how do you beat boredom, Tyler?... Adventure...(Never Cry Wolf, 1983)
Subscribe to Thread
Become a member of the bwca.com community to subscribe to thread and get email updates when new posts are added. Sign up Here
Community Links
 Search BWCA.com
 Donate
 Featured Sponsor