|
 Boundary Waters Quetico ForumGroup Forum: Boat Builders and RepairNWC Excurzion builders?
|
 Forum Sponsor

Author
Text
")
04/05/2020 08:36AM
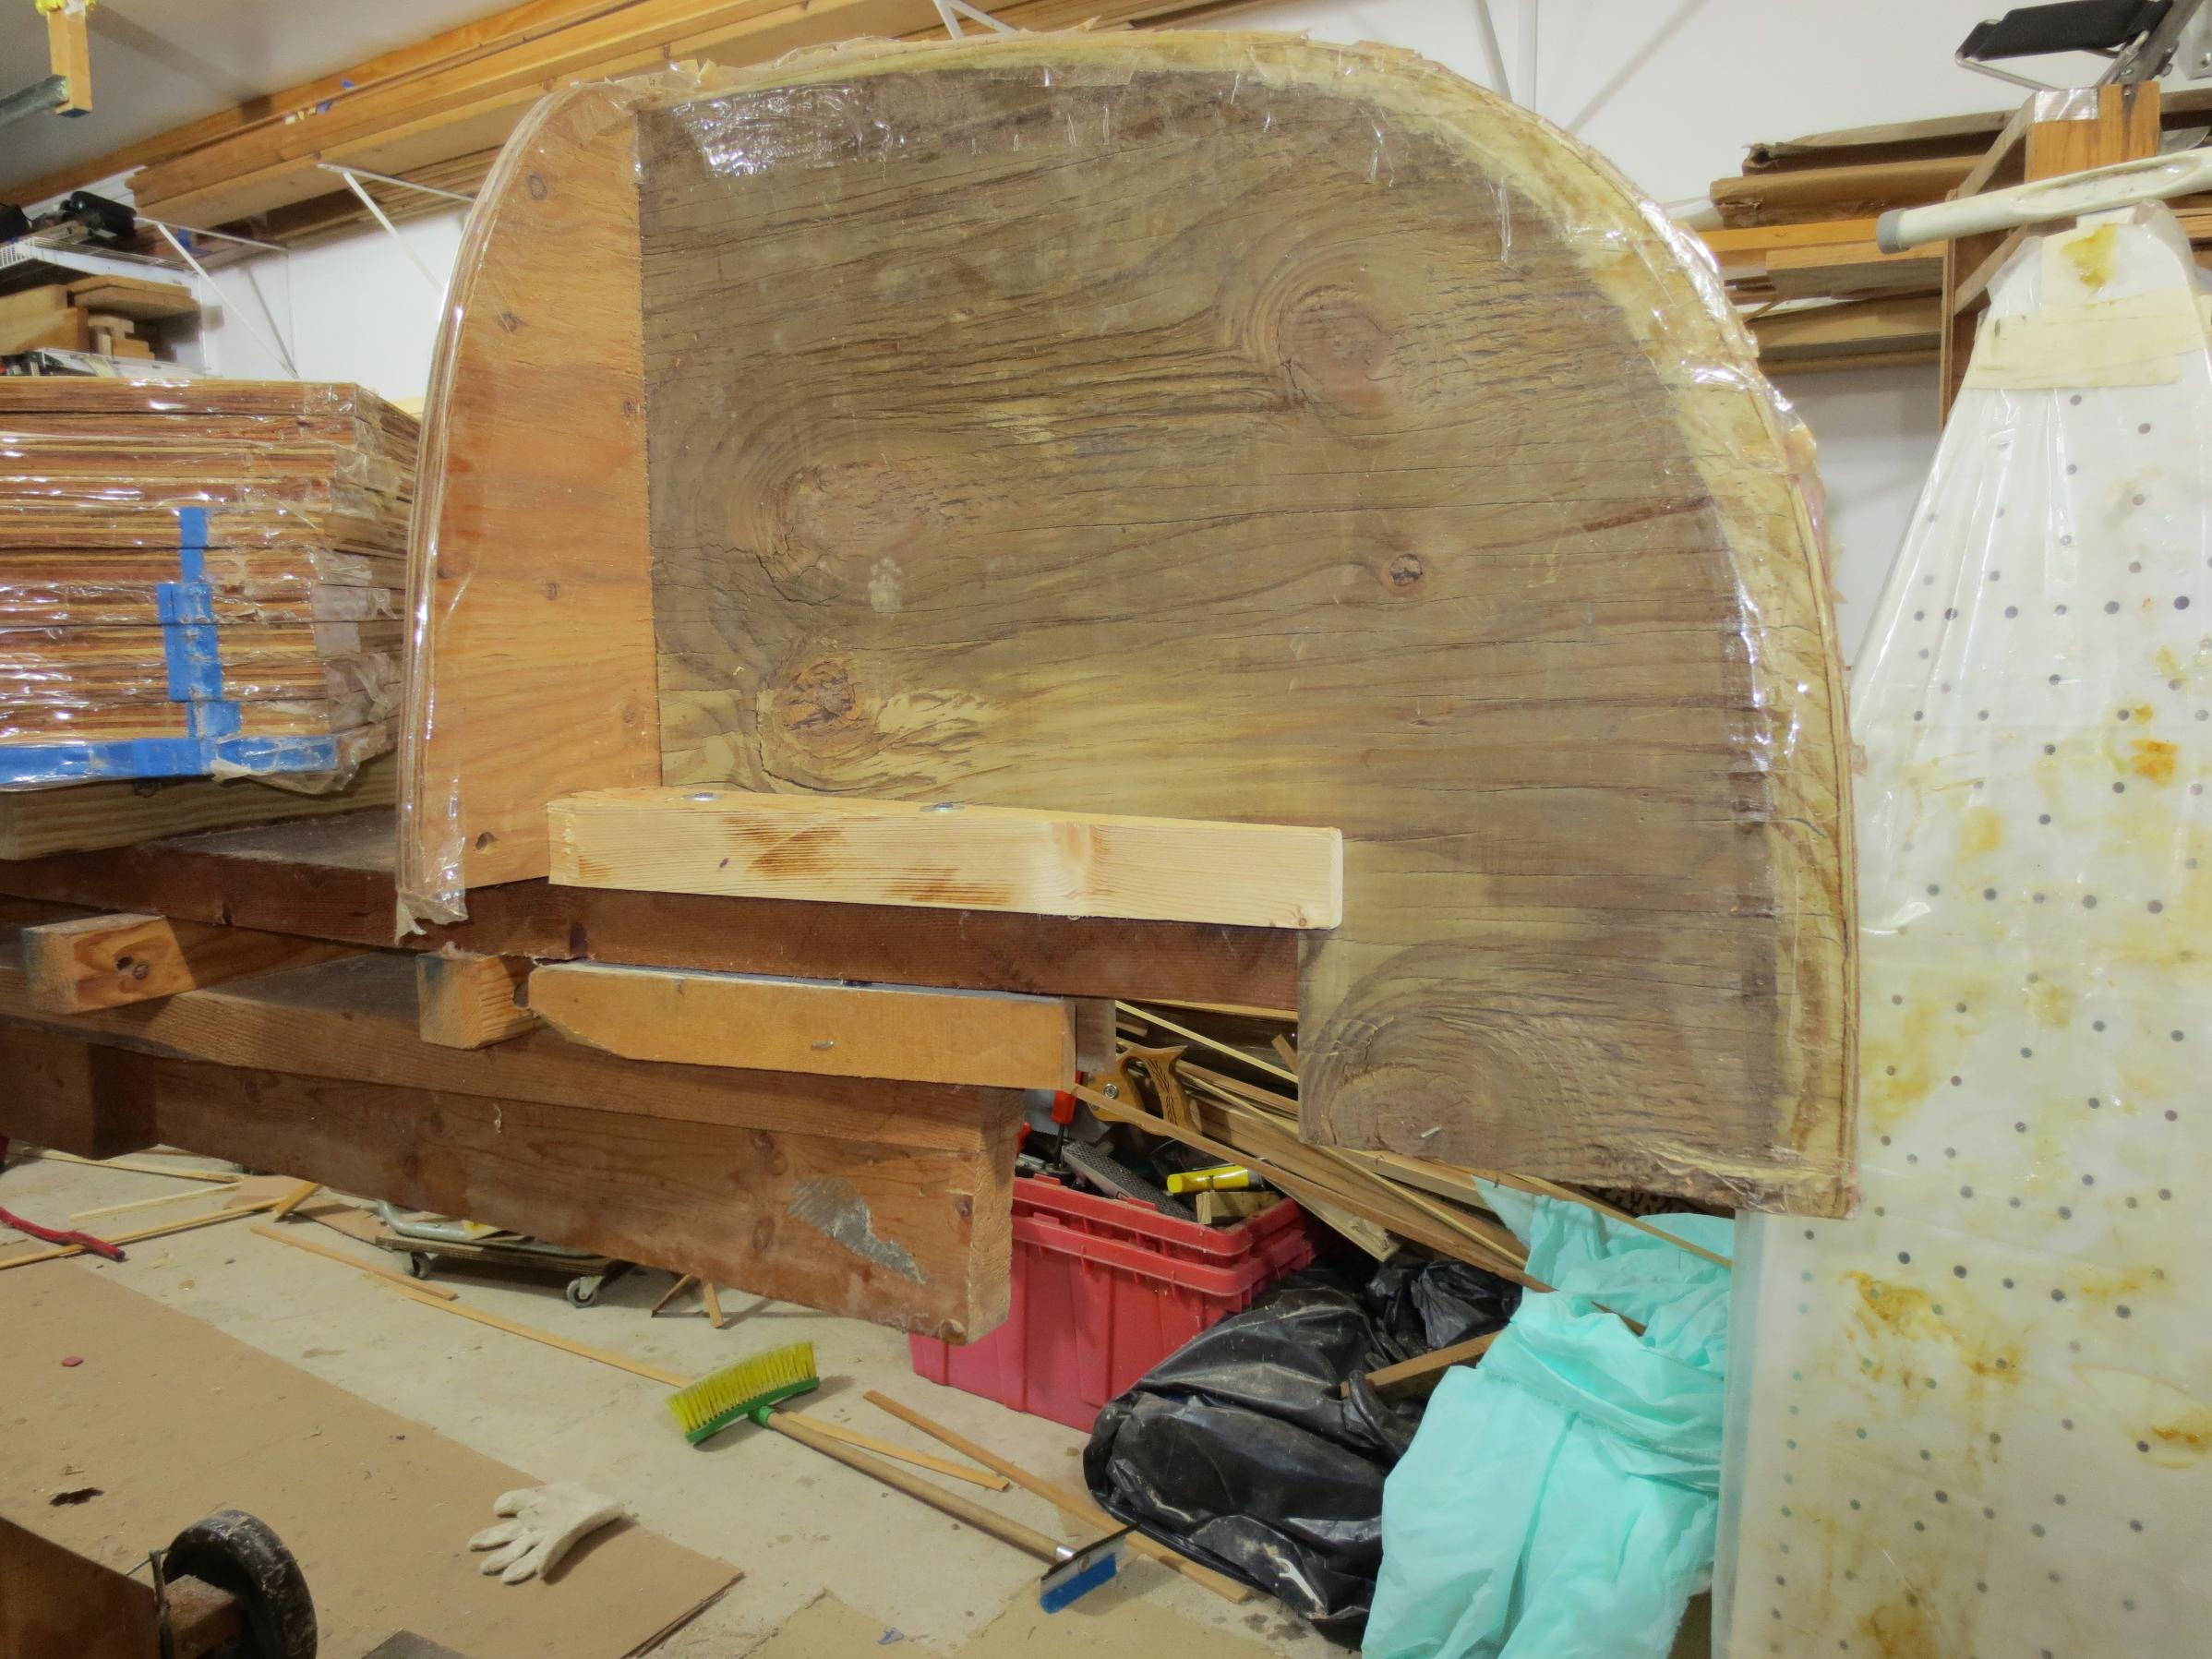
I started my Excurzion build but almost immediately ran into a problem. Does anybody have a set of Excurzion forms? I need to check my measurements on forms 1 and 2, and 14 and 15 as something seems to be off.
There seems to be "pinch" between form two and the bow stem. So much so that the strips are extremely difficult to keep attached (stapled and glued) to form 1. In fact they break free from form 1 and from form 15: bow and stern.
I'm wondering if I cut those last two forms too narrow. I don't see how as I followed the pattern all the way. If anybody has a set of forms against which we can compare my measurements, it would be great.


04/05/2020 02:00PM
If I understand correctly, this is the location at the waterline where the strips pass the second to the last form, go over the last form and then get stapled to the stem.
Your problem is the strips won't hold on the last form.
If this is correct then there may not be a problem with your plans. Some canoe have a very fine entry and the strips don't flow smoothly alone this spot. They need to be pushed against the last form almost causing an indentation of the canoe at this spot. It will let up as you put on more strips. Once the canoe is rightside up, the fine entry will become apparent at this spot. You need to use a long brad of even a screw at this spot to get the strip against the form.
Is this what you are experiencing? Pictures would help too.
tumblehome


04/06/2020 01:04PM
Also, there is not stem and it's supposed to have one. Looking at the end form (the perpendicular form) notice how it is about 1" lower at the top of it where it meets your last form. You are supposed to have a stem piece.
This would also explain why the strips are not laying properly because you are stapling them to the form and they should get stapled to a stem piece. You're going to have to put the brakes on planking and make some stem pieces. They are customarily made from ash but really, you can make them from cedar strips laminated together. This part of your project is going to take some time
I am making assumptions based on your photos.
I promise, the fuss and time it takes to get this right will pay dividends later.
Tom


04/06/2020 01:15PM
tumblehome: "Also, there is not stem and it's supposed to have one. Looking at the end form (the perpendicular form) notice how it is about 1" lower at the top of it where it meets your last form. You are supposed to have a stem piece.
This would also explain why the strips are not laying properly because you are stapling them to the form and they should get stapled to a stem piece. You're going to have to put the brakes on planking and make some stem pieces. They are customarily made from ash but really, you can make them from cedar strips laminated together. This part of your project is going to take some time
I am making assumptions based on your photos.
I promise, the fuss and time it takes to get this right will pay dividends later.
Tom"
Tom and CabSauv, These particular plans are not designed to have an extra stem piece. That gap should be there and is part of the plan. Dennis at NWC says they like to have that space to fit the strips in that area. It confused me too when I saw the space, but he assured me that the plans are supposed to be used without stem pieces, for stemless construction. All CabSauv needs to do is to at this point is to bevel the stem forms so the strips lay flat. If you're not convinced then I would suggest contacting NWC to get the final word.
Mark
04/06/2020 03:53PM
I believe Mark is correct ! No inner stem and out stems. Taper your stem forms.
Tom is also correct ! Pull your strips off and correct before going any farther.
Stems should have the leading edge tapered, similar these.

This is called a stemless stem ! Much easier to build and plenty strong ! I've built all mine this way. If you can find a Minesota Canoe Assc. Builders book, you will see the same method.
Tom is also correct ! Pull your strips off and correct before going any farther.
Stems should have the leading edge tapered, similar these.
This is called a stemless stem ! Much easier to build and plenty strong ! I've built all mine this way. If you can find a Minesota Canoe Assc. Builders book, you will see the same method.
Keep your paddle wet and your seat dry!
04/07/2020 06:05AM
Hey guys. No complaints on my end. I have not seen the plans for this canoe so I was making assumptions based on past experience. What you are describing makes sense.
I will defer to those that know about this particular model.
I was going to make mention that there might have been an issue with placing his last form (the perpendicular one) too far from the end of the strong back. This would have also caused his issue where the strips don't meet the second from properly.
04/07/2020 09:04AM
I agree with what you said above tumblehome. It's good cabsauv stopped where he did and that he noticed there was a problem. Having the stem form too far forward would have caused the same issue. I know you mentioned it above, many canoe designs have a hollow in that area, some more than others. Older canoes like my 1928 old town with recurved stems has a lot. I built a chestnut pal last year that has some near the sheer, but on that model it's supposed to be there.
Mark
Mark
04/07/2020 06:15PM
I went to the web site and looked at the pic they have, and from what I can see there is no inversion/cheek, or ..... in the hull there; doesnt mean there isn't tho. I for one would be inclined to just float over that form making it more full. I like them more full/flared . Makes for a dryer boat and there is nothing that says you have to staple the strip down just because it's there.
Good judgment comes from experience, and a lot of that comes from bad judgment.
04/08/2020 06:36AM
I second the observation that tumblehome made on the stem form being too low also. That needs to be raised to fair out with the other forms and now is the time to do it before there are too many strips on to make the adjustment. I needed to do the same thing on my first build and found that it faired out with a 1/2" plywood shim under the form.Laying a strip on top of the forms will give you a visible of how high you should shim your form.
04/10/2020 08:26AM
According to Dan at NW Canoe, there should not be an indentation at that point...not for the Excurzion model. I'm pretty sure followed the lines on the patterns correctly. While I wasn't so good at cutting on the lines in kindergarten, I think I nailed it on these patterns.
04/11/2020 10:11AM
The big advantage, and there are really several to bead and coving your strips, is simply strip alignment.
It's easy to see how the edges of the cove, do that, but when you get to the Bilge area of the hull that is where the bead and cove really shines.
I appreciate how little glue I have oozing out over the hull with bead and cove, saving me a lot of scraping and sanding to get a hull ready for glass.
Yeah, I'm sold on bead and cove !
Jim
Keep your paddle wet and your seat dry!

Subscribe to Thread
Become a member of the bwca.com community to subscribe to thread and get email updates when new posts are added. Sign up Here
Community Links
 Search BWCA.com
 Donate
 Featured Sponsor