|
 Boundary Waters Quetico ForumGroup Forum: Do It Yourself GearDIY Portage Pads / Yoke Pads
|
Author
Text
")

03/06/2016 10:26AM
On a trip last year with my wife, I convinced my Brother-in Law to let me borrow his new kevlar canoe. It had a center yoke, but no pads. The deal was that I could use it if I fitted it with pads for him (and took good care of it, of course). This meant a DIY job for me, but something that was professional enough that he wouldn't mind keeping bolted to his canoe. I found a few sets of ideas out there, but thought I could do better, and document the process both for my own repeat use, and for anyone else who wanted to attempt the build. Total cost was under $10.
Here are the DIY portage Pads:

Materials:
-1x4 board(3/4" actual thickness). 16" length to be cut into two pieces. Unfinished pine is fine. I used a piece of scrap that I had previously used to test stain.
-1/2 yard of backed Vinyl. I found mine in the discount scrap pile at JoAnn Fabrics for $1.50 . You need a piece at least 25"x 17"
-Polyester or synthetic batting/ pillow stuffing. Again the discount scrap at JoAnn was the source of a small piece instead of a whole package. I used some that was 2" thick, and I stacked 3 layers of it per pad to make it nice and firm. For 2" batting, that's a piece at least 12" x 17" to make one pair of pads.
- Staples and staple gun.
- (4) 1/4" x 2.5" bolts, nuts, and washers.
-Sewing machine and polyester thread (cotton thread will rot when wet outdoors)
-glue. any kind, really, as it's temporary.
-2 beers: One to sip while you're working, and one to celebrate the accomplishment as you stare at your new portage pads.
"Everybody needs beauty as well as bread; places to play in and pray in, where nature may heal and give strength to body and soul" -John Muir
03/06/2016 11:32AM
I measured the yoke beforehand to make sure it would fit. This design is for drilling holes in the yoke and semi-permanent installation , but you could easily modify it to be a clamp-on style. I installed them centered (front-to-back)on the yoke and they worked fine, but if I were to do it again I would install them slightly forward to center them a little better on your shoulders. The yoke is carried behind your neck, after all.


First, cut your materials according to the drawing:

-Wood is 3.5” x 8 x 3/4” for each piece. Drill 1/4” holes as shown and insert the bolts in each hole. If they aren’t tight you can glue them in, but it doesn’t really matter as you’ll be bolting them down tight anyway.

-Batting is 4” x 8.5” for each piece (to be stacked 3 high in each pad).

-Vinyl is to be rough cut to 12.5” x 17” for each piece.
"Everybody needs beauty as well as bread; places to play in and pray in, where nature may heal and give strength to body and soul" -John Muir
03/06/2016 11:41AM
Next, transfer the plans to the backside of the vinyl and cut-out as shown. On the drawing, the yellow parts are seam allowances that will be trimmed down later. The orange parts will be the flaps used to wrap around the backside of the wood block. Take your time and measure carefully. Do this before you drink too much of the beer.


Fold it into a box (inside-out at this point) and sew the sides together. Now you can trim down the seams, removing most of the yellow flaps.


You can fold and sew the side-flaps into seams as shown for a slightly nicer finish, but it will be on the backside of the pad so you’ll never see it anyway.
Invert the box so the right side is facing out. Stack the batting pads inside, and then the wood blocks, with the bolts facing out, of course.


"Everybody needs beauty as well as bread; places to play in and pray in, where nature may heal and give strength to body and soul" -John Muir
03/06/2016 11:47AM
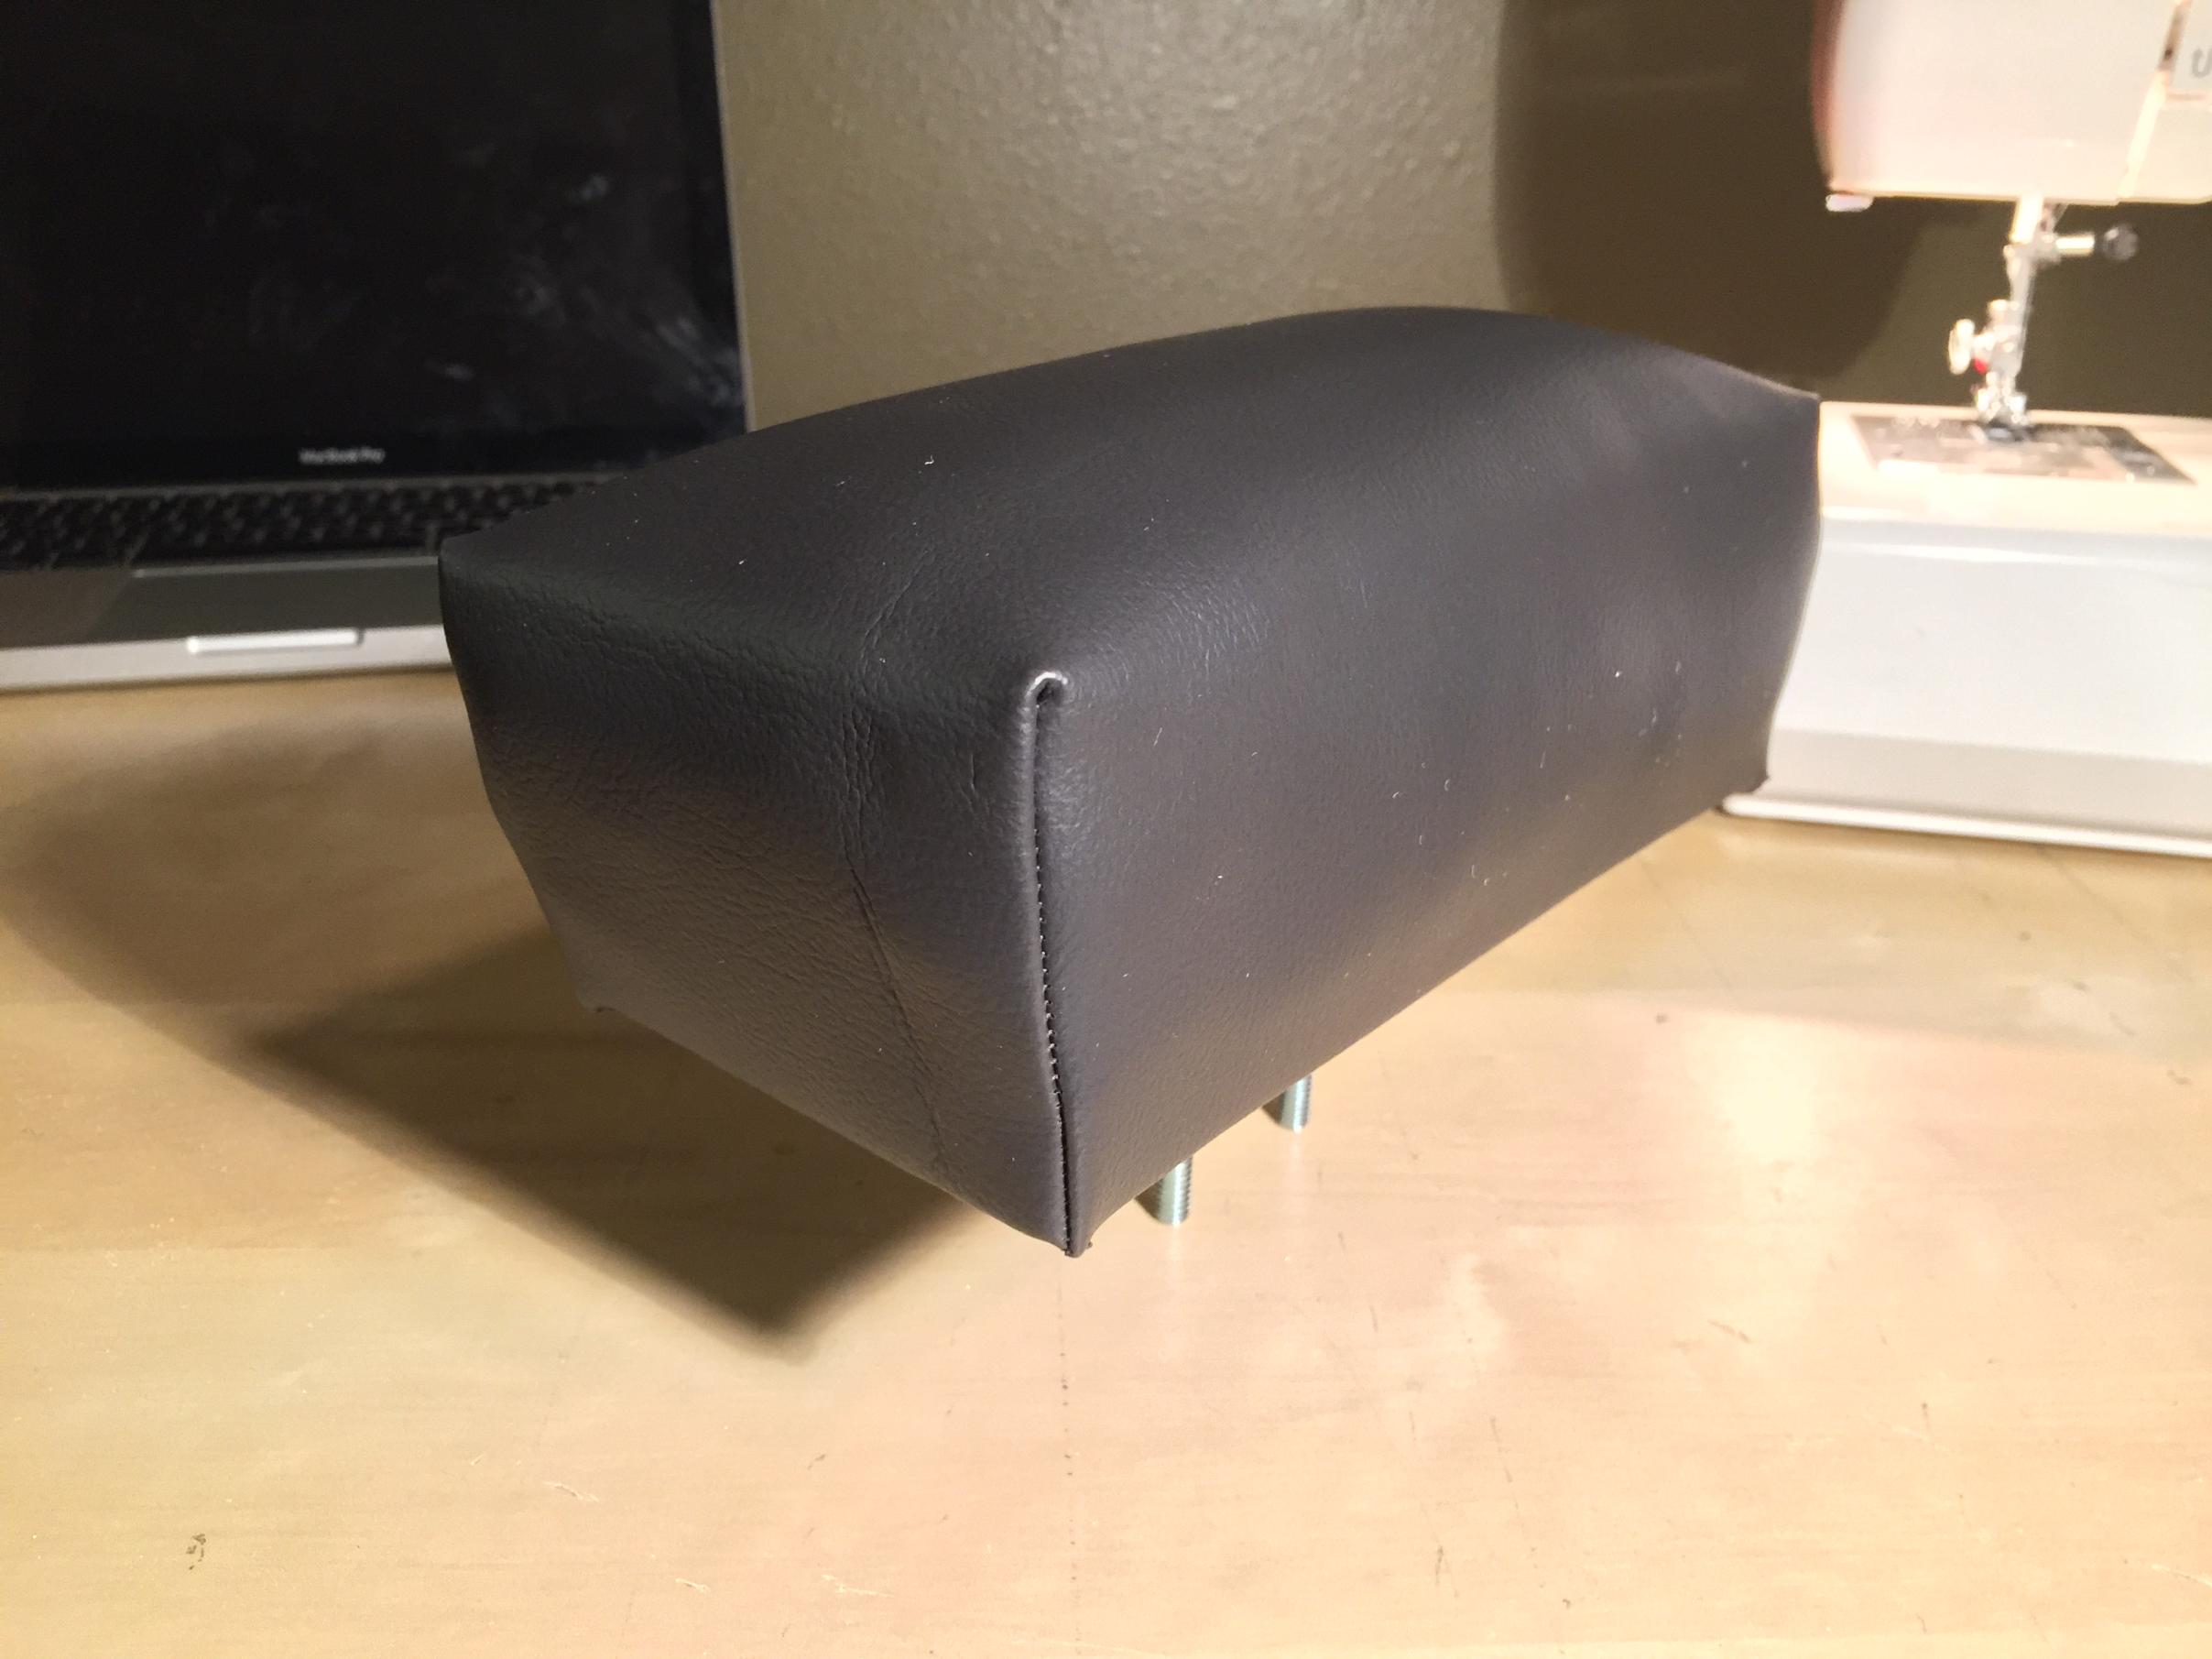
First, fold the ends over the block and staple tight. Next, fold in the long sides and staple tight. Trim off the excess.


Drill holes in the yoke and mount where you like, using the nuts and washers. Have that second beer as you proudly stare and imagine how awesome it will be carrying it down the portage trail.


Drill holes in the yoke and mount where you like, using the nuts and washers. Have that second beer as you proudly stare and imagine how awesome it will be carrying it down the portage trail.

"Everybody needs beauty as well as bread; places to play in and pray in, where nature may heal and give strength to body and soul" -John Muir


03/06/2016 07:45PM
quote SaganagaJoe: "Great set of instructions. Thanks for posting them here for our benefit. "
+1
Many of us have made sets of these, but that last stretch-and-staple step has always meant that mine ended up as a very functional set but with that kidney bean look. Nice job.
How did you arrive at the amount of batting to use? Are they super comfortable, like maybe a Bourquin brand?
"You can observe a lot just by watching." -- Yogi Berra
03/06/2016 09:52PM
quote schweady: "quote SaganagaJoe: "Great set of instructions. Thanks for posting them here for our benefit. "
How did you arrive at the amount of batting to use? Are they super comfortable, like maybe a Bourquin brand?"
Thanks, I very scientifically "stuffed it in there until it felt right." It's pretty firm, but you need that firm cush with 40lbs bouncing on your acromion. I used it for the week and it was fine. Longest that trip was a 240rod. I think the polyester/synthetic batting is important versus a foam rubber or something. I was running around the fabric store tightly squishing up all sorts of material and placing body weight on it against a countertop. This worked the best and makes them feel very close to a commercial pad; and if you cut it square it holds its shape pretty well.
More importantly, my brother in law was happy with it, so I have a chance at borrowing the canoe again!
"Everybody needs beauty as well as bread; places to play in and pray in, where nature may heal and give strength to body and soul" -John Muir

Subscribe to Thread
Become a member of the bwca.com community to subscribe to thread and get email updates when new posts are added. Sign up Here
Community Links
 Search BWCA.com
 Donate
 Featured Sponsor