|
 Boundary Waters Quetico ForumGroup Forum: Boat Builders and RepairNew project: The Damselfly
|
Author
Text
")

01/14/2017 08:45PM
I have started on another canoe. I swear this will be my last cedar strip or I will admit myself to a rehab facility for a cure.
The canoe is a design obtained from Alex Comb (Stewart River Boatworks). Alex's design is based on David Yost's Wildfire. He changed the sheer line and the tumblehome, but below the water line it pretty much looks like a composite Wildfire. His plans are for wood/canvas in both a 13' and 14' version. I adapted the plans for cedar strip construction.
I saw these canoes at the Sawbill wooden canoe gathering and pretty much was hooked. So, I am using up my building supplies and going at it real slow, I think I have enough bead and cove western red cedar and some salvaged clear redwood.
The canoe:
Moderate Tumblehome
1 3/4" of rocker
shallow arched hull
Length:13'
Width at gunwale:27 1/2"
Depth at midships:11 1/2"
Width at beam:29 1/2"
Height at ends:18"
Width at 4" WL:28"


"Boredom, Tyler - that's what's wrong. And how do you beat boredom, Tyler?... Adventure...(Never Cry Wolf, 1983)
02/06/2017 05:02PM
Will be watching this with interest, Joe. Hope this message finds you reasonably well. I've thought of you a number of times since we connected last summer, and your old Dagger canoe saw use 3-4 times per week on my neighborhood creek and lake. I've got a friend moving to work at USGS EROS in March, so I expect we'll be out that way one of these days. In that case, I'll certainly be in touch. Likewise, I hope you'll let me know if you're passing through the cities and have any time to spare a chat. Maybe we could get the solo boats out for a paddle or even a short trip. Best regards, Dan
02/18/2017 10:11PM
Just curious, how do you go about converting plans for a wood canvas canoe to cedar strip? I'd be interested in building one of these myself. In Iowa, canoes under 13' do not need to be registered. I hate the thought of putting the ugly numbers that Iowa requires for registered boats on a beautiful wooden canoe.
Bernard
Bernard
02/19/2017 10:23PM
quote Bernjo: "Just curious, how do you go about converting plans for a wood canvas canoe to cedar strip? I'd be interested in building one of these myself. In Iowa, canoes under 13' do not need to be registered. I hate the thought of putting the ugly numbers that Iowa requires for registered boats on a beautiful wooden canoe.
Bernard"
Bernard
Have you ever seen the molds for a wood canvas build? Basically, you first build a rough canoe shape to build a canoe on. The rough shape uses 3/4" thick stock (or so). In production molds, bands of steel are laid over the wood at the spacing of the ribs (for clinching the copper nails that hold ribs to cedar planking). Ok, all this aside......... too much detail.
What I did was to add 1" of "fat" to all the station molds so I could keep the proper dimensions for a canoe built with 1/4" thick cedar strips. So, you end up redrawing all of the station molds. It takes a bit of time. In drawing the station molds you also need to come up with a new base line suited to your strong back and building preference.
The big draw back to these plans is the distance between mold stations. Alex uses 16" on center. I think 12" on center is probably best for cedar strip construction so you have more anchor points to keep the strips in "canoe shape" rather than in some random shape that the strips would like to go off in.
Hope this was clear as mud ;)
"Boredom, Tyler - that's what's wrong. And how do you beat boredom, Tyler?... Adventure...(Never Cry Wolf, 1983)
02/22/2017 10:16PM
quote 1JimD: " That's pretty clear. So Alex sent you the plans, as though you were building a Wood / Canvas canoe mold for the Damselfly. ?
If so, that makes sense to me.
Jim"
Jim, yes the plans are for construction of the strong back and molds for a wood canvas canoe. He has a list of canoe plans on his site.
I looked at your default photo cache tonight. You have a beautiful fleet of fine canoes.
"Boredom, Tyler - that's what's wrong. And how do you beat boredom, Tyler?... Adventure...(Never Cry Wolf, 1983)
02/24/2017 10:43AM
Your explanation made sense to me also. I think you should be okay with 16 " spacing on the forms, especially if you use bead and cove strips. I recently decided not to build Hazen's Minmac because the plans had the forms 24" apart, but I know others have successfully built it.
Do you plan to set this up to use a double paddle (low seat) or single paddle (seat high enough for kneeling)?
Bernard
Do you plan to set this up to use a double paddle (low seat) or single paddle (seat high enough for kneeling)?
Bernard
02/27/2017 08:59PM
quote Bernjo: "Your explanation made sense to me also. I think you should be okay with 16 " spacing on the forms, especially if you use bead and cove strips. I recently decided not to build Hazen's Minmac because the plans had the forms 24" apart, but I know others have successfully built it.
Do you plan to set this up to use a double paddle (low seat) or single paddle (seat high enough for kneeling)?
Bernard"
Bernard
I too was looking at Hazen's Micmac with the sturgeon nose stems. I liked the look but did not like the mold spacing. I still think 12" spacing on molds is what is needed to keep strips fair on this canoe. This little canoe looked easy to strip but it is proving not to be. Rounding the bilge has had me on the run. The strips between stations 0 and 1 and 1 and 2 tend to find a release of tension by bowing outward between those stations after being firmly fastened at each station. I am just about getting to the bottom.
I am not sure what I will do with my seat geometry. That is a long way off. I prefer single blade paddling. I am hoping to get up to the gathering at Sawbill this fall. I will give Alex a call and ask him if he could haul his Damselfly up. Paddling that canoe will give me the answer.
I am going to post some progress pictures tonight.
"Boredom, Tyler - that's what's wrong. And how do you beat boredom, Tyler?... Adventure...(Never Cry Wolf, 1983)
02/27/2017 09:16PM
Progress and problem report:
Picture 1: the rolling bevel on the stems turned out nice
Picture 2: these strips ran away from the stations after I turned my back on them (glue was set up). My only solution was to draw this section back to the molds with turn buckles. I only hope they stay corrected when I start pulling staples.
Picture 3: I tried a accent strip idea. It is done, and I hope the look adds to the canoe. Right now I am questioning what I did. I like simple and this looks a bit too much for the canoe.
Picture 4: From the top. I am taping the joints together between stations. They were separating too much for my liking. This picture also shows the first plank that I ever broke while stripping. The English Shepherd has to be part and is always underfoot (but I like her company)


"Boredom, Tyler - that's what's wrong. And how do you beat boredom, Tyler?... Adventure...(Never Cry Wolf, 1983)
02/28/2017 04:00PM
FACING A PROBLEM that I am not familiar with:
On my Ranger, I had no problem following the "Ted Moores" method of closing up one side, cutting the keel line, and closing up the second side. The curve of the "football area" was an easy work.
Not so on this canoe. I think I have reached a point where the torque on the strips makes it near impossible to bend and hold the strips to the forms. In the NW Canoe Company builders guide they say it is time to start a herringbone pattern before it is too late ????
I need to change my stripping pattern to adjust to this difficulty. I could back off and lay strips parallel to the keel line and work toward the bilge area.
So, is it herringbone or parallel strips?
Anybody want to chime in on this?
"Boredom, Tyler - that's what's wrong. And how do you beat boredom, Tyler?... Adventure...(Never Cry Wolf, 1983)
02/28/2017 05:56PM
I don't believe the herringbone pattern will relieve any stress on the strips. Maybe I'm wrong but I can't envision how it will do so.
I've used the method of running 2-3 strips straight down the keel line and it works but of course is now more work as you have to fill in two sides with fitted strips rather than one. I don't think it's any more work than the herringbone patterned bottom though; which also has you fitting strips on both sides.
The straight strips down the center has a nice visual appeal.
Alan
02/28/2017 06:21PM
OK. I see you did go bead and cove. It surprises me, you are having that much trouble with the strips ! Are they WRC ?
Herring bone brings up another challenge. Your strips are bead and cove, therefore, when you cut the angle on the strip, you will need to hand bead and cove the strip to bed it. Not a biggy ! Just another thing.
My very first canoe was a design, in Popular Mechanics. I still have it somewhere. It looks near identical to your Damsel Fly, I believe it was 14.5'. I had no trouble stripping it. Were your forms fair ?
Strip dimension may be a factor. Were they 1/4"x 3/4" before you beaded and coved them ?
Jim
Keep your paddle wet and your seat dry!
03/01/2017 09:45AM
Thanks guys. Today I got over the bilge area. There is less stress on the strips (I got them to lay down with a well placed nail and abundant clamps). Work continues with the "Ted Moores" way. I am going to change my pattern and the attached top view shows a little experiment (with short strips) along the keel line. That will change my stripping pattern to parallel along the keel line.


"Boredom, Tyler - that's what's wrong. And how do you beat boredom, Tyler?... Adventure...(Never Cry Wolf, 1983)
03/16/2017 08:32PM
Well here is where I am at today. I am very glad that I changed my stripping pattern to lay strips parallel to the keel line. I am finally enjoying building even though I have twice the number of angles to cut than when using the contour method of stripping.
This canoe has been a bear to strip over the bilge area. From my photos you can detect my problems by the number of nails hammered through little wooden blocks. I think the difficulty arises with 1) building on 16" centers, 2) the curve of the bilge area, and 3) the lack of intermediate stations (stations having about the same shape as the center station) fore and aft of center. Anyway, I am over the hump so to speak.


"Boredom, Tyler - that's what's wrong. And how do you beat boredom, Tyler?... Adventure...(Never Cry Wolf, 1983)
03/17/2017 12:26PM
I was looking at this very design on the stewart river website for the possibility of making it into a really light skin on frame boat for carrying into alpine lakes around here. One question on your stripping method, did you start stripping at the sheer or did you start below towards the ends, filling in strips there later? I can't quite tell from the photos. I'm wondering if a small part of the problem you had comes from having to bend those strips in at a sharper angle once you reached the bilge area. Just a thought?
03/17/2017 05:44PM
That's really looking good. Nice work on getting past the hard to bend strips.
I still can't believe how clean your shop is. I've been meaning to clean mine for over 3 months but keep starting new projects and telling myself I'll clean it when I'm done. Then I start another one.
Alan
I still can't believe how clean your shop is. I've been meaning to clean mine for over 3 months but keep starting new projects and telling myself I'll clean it when I'm done. Then I start another one.
Alan
03/17/2017 07:45PM
MK and Alan
I am not always neat. It seems from the pictures that I must have a shop keeper to clean up after me. I get to a spot with clutter that I have to stop and reset. Then I am good until clutter comes again. I like to keep the floor clean because my dog is a shop buddy. She will pick up various hunks of wood and mulch them contentedly. She also drags chips into the house.
My stripping method follows the Ted Moores bible. My first strip is hung at the sheer line of mold station 0 (center). I then let the plank find a comfortable shallow arc toward the stems. I eyeball for a nice continuous fair curve. Once satisfied I duplicate my efforts on the other side. So, the first plank does not follow the sheer line to the stems. The space between the first plank and the actual shear line is filled with "hanging planks". You cannot see those because they will be put on last.
"Boredom, Tyler - that's what's wrong. And how do you beat boredom, Tyler?... Adventure...(Never Cry Wolf, 1983)
03/17/2017 09:02PM
Mike brought up a good point. Depending on the design, and how much up turn you have at the stems.
Most of the time I start my first strip to follow the shear. By the time I get to the football, I don't have a lot of stress on my strips.
A herringbone pattern will solve your problem.
Again it depends on the design.
Note the shear strip,in the first pic, and the relative light bend on the last strips in the football, in the last pic.
No herringbone needed.


I believe if you would have followed the shear with your first strip, your problem would have been solved.
Jim
Keep your paddle wet and your seat dry!


04/10/2017 07:43PM
quote Bernjo: "That's looking really nice! I am anxious to hear about how it paddles. Also curious about the number about four strips down on the stern.
Bernard"
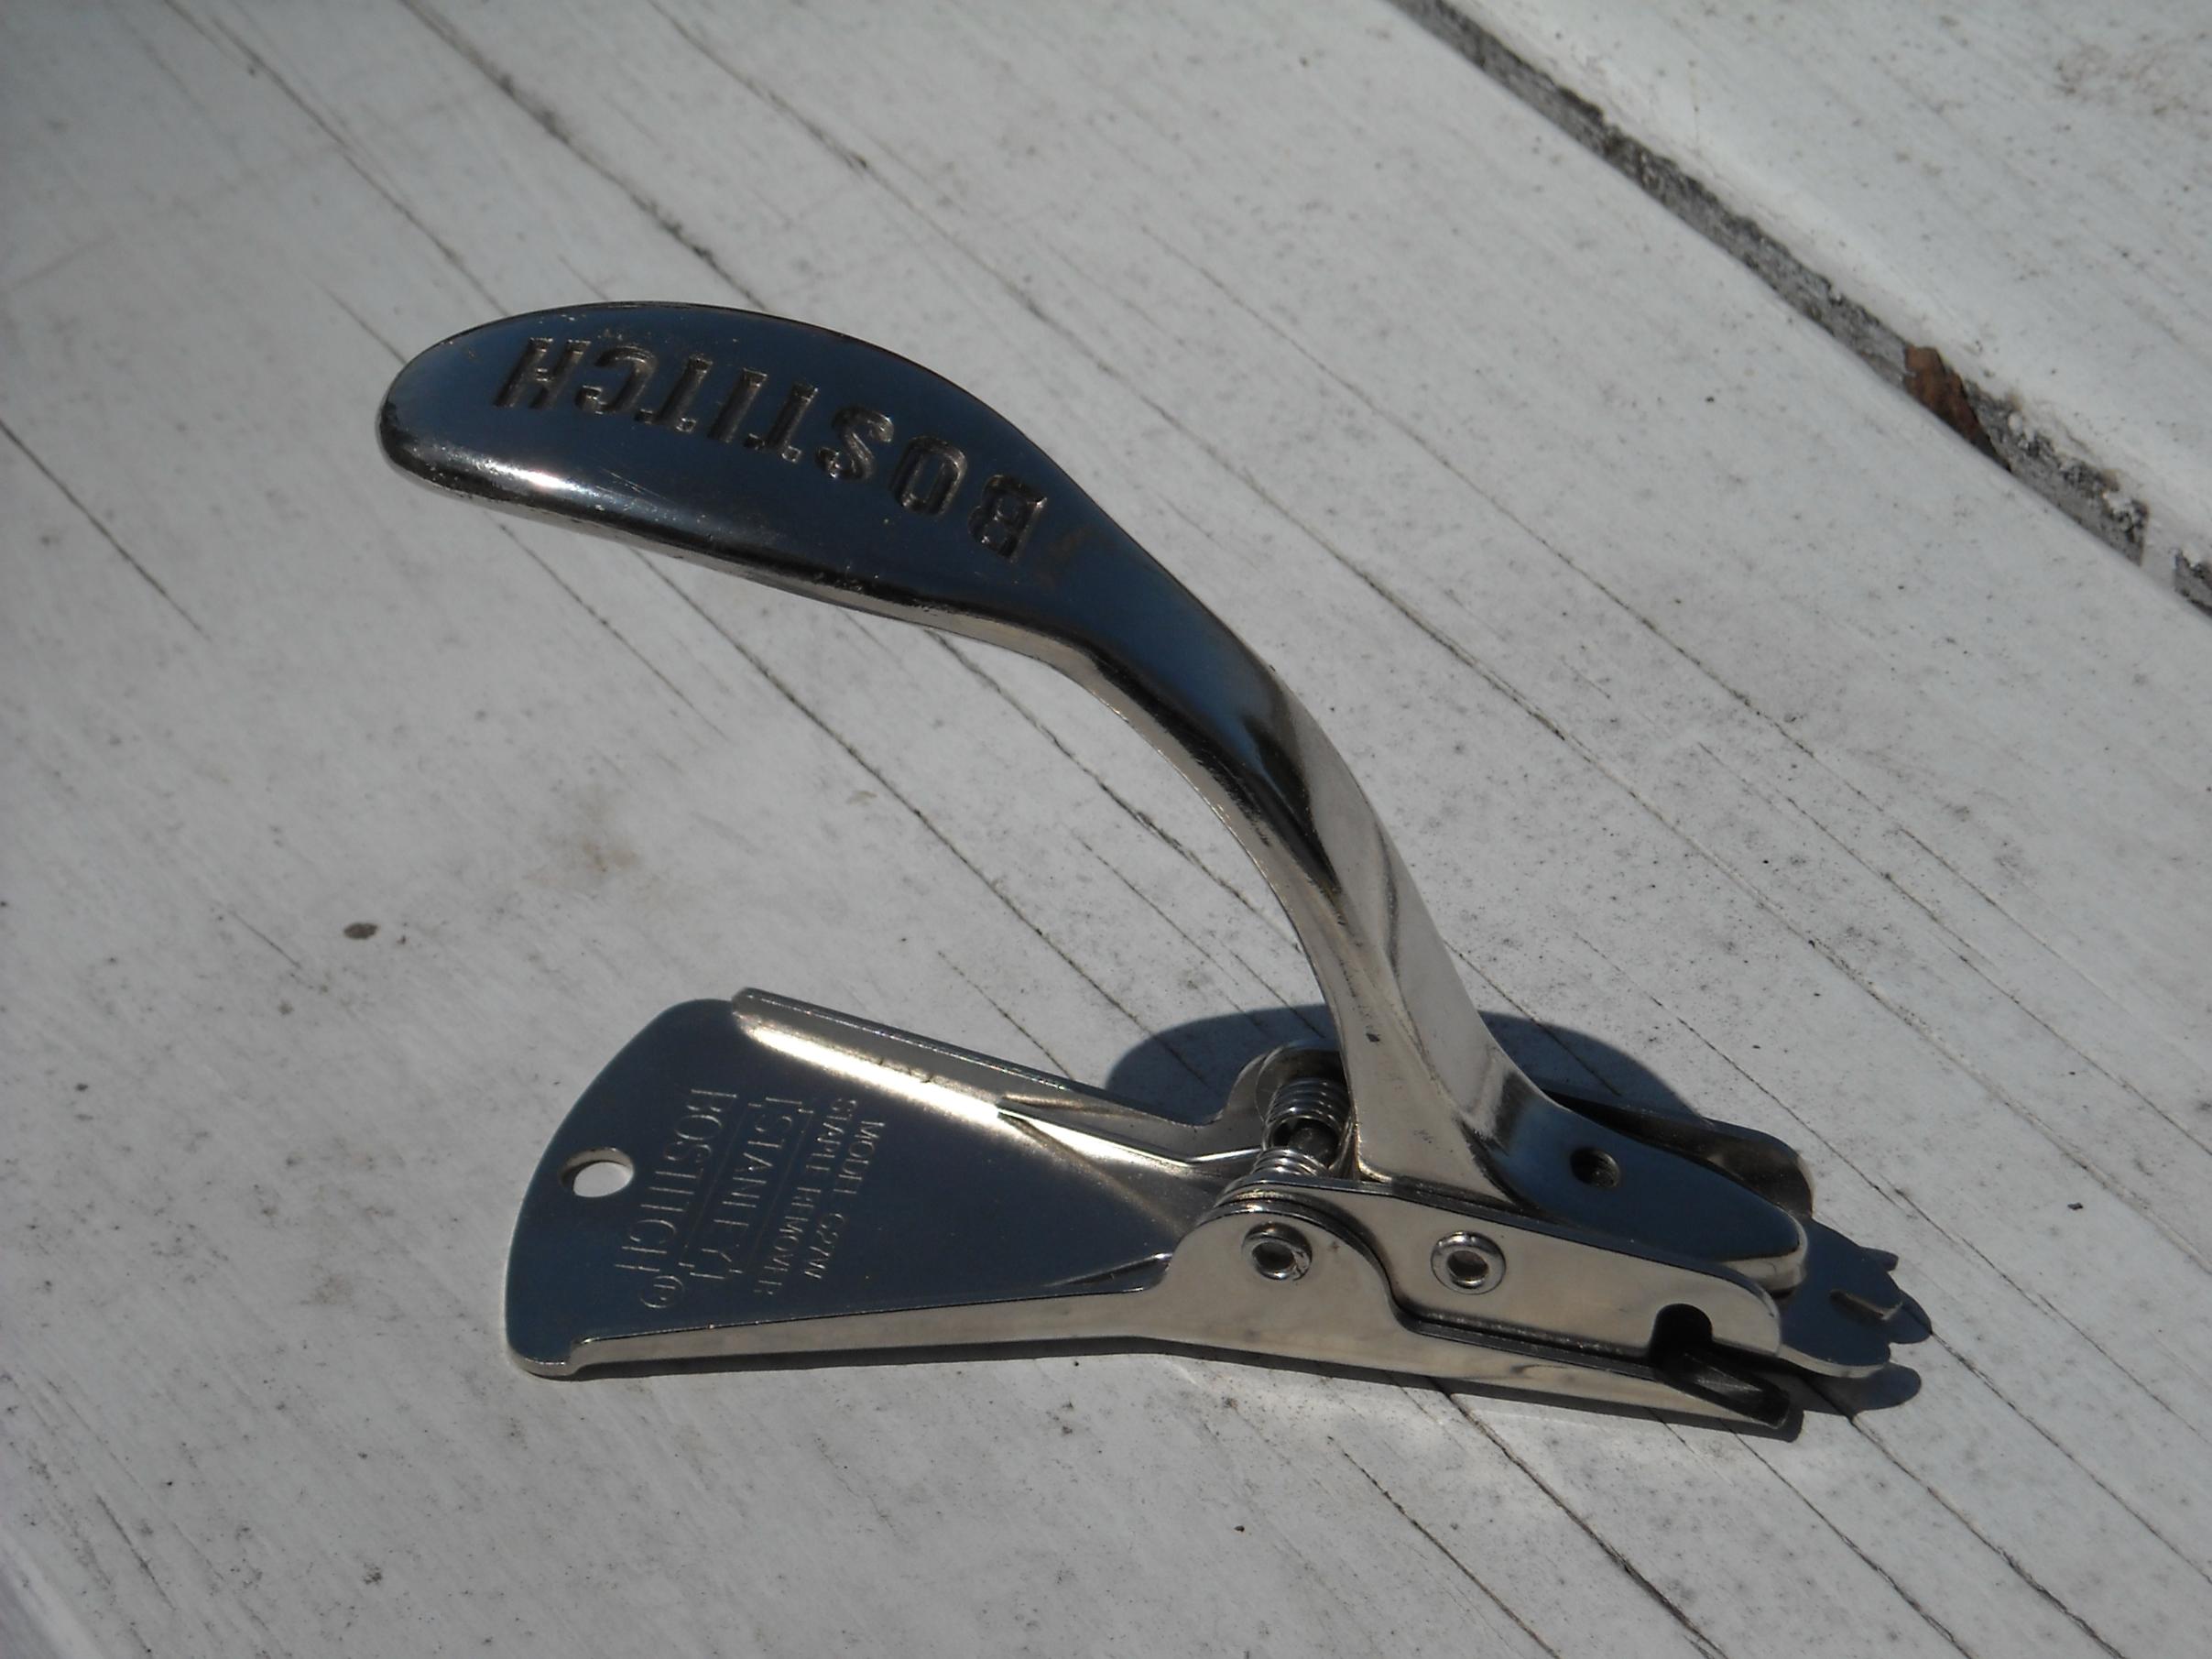
Guessing it's the Coast Guard ID number.
Jim
Keep your paddle wet and your seat dry!
04/10/2017 08:42PM
The number on my hull is the hull identification number (HIN). In a state where boat building is rather rare, I was surprised (2 canoes ago) that South Dakota had such a thing. This is the third time I have been issued a HIN for a home built canoe.
It is an easy thing to do and the number will be on my canoe registration for all time. When I get the number, I take 2 strips to an engraver in town who uses his laser to burn the number into the wood.This time I had him burn deep. I then filled in the number with thickened (contrasting wood flour) epoxy. One numbered strip faces the inside of the hull and will be virtually inaccessible. The other numbered strip faces outward starboard side. Both will be under fiberglass/epoxy.
"Boredom, Tyler - that's what's wrong. And how do you beat boredom, Tyler?... Adventure...(Never Cry Wolf, 1983)
04/11/2017 05:57PM
I like that idea for your HIN, not sure if I could get a number here in Indiana before the canoe is complete. We only have to have a number if you put a motor on it, recently registered my Ranger so I could put a trolling motor on it. Bout made me cry to put stickers on it and a metal tag!
07/01/2017 09:08PM
Work on the canoe has been slow now that summer is here. I finally have the stems shaped and hull sanded. I have some fill work and then I think I will lay down some extra glass (bias cut) on the stems before I glass the hull.
I just returned from an 8-day, 46 mile canoe trip (Sawbill-Cherokee-Long Island-Snipe- Tuscarora-Hub-Zenith-Sawbill) with my Merlin. Even with care, my stems took a beating (I did not put extra glass on the stems of my Merlin). So, with that fresh in my mind, I will add some extra glass to the critical wear areas of this canoe.


"Boredom, Tyler - that's what's wrong. And how do you beat boredom, Tyler?... Adventure...(Never Cry Wolf, 1983)

07/04/2017 07:15AM
Quote highplainsdrifter:
I just returned from an 8-day, 46 mile canoe trip (Sawbill-Cherokee-Long Island-Snipe- Tuscarora-Hub-Zenith) with my Merlin. Even with care, my stems took a beating (I did not put extra glass on the stems of my Merlin). So, with that fresh in my mind, I will add some extra glass to the critical wear areas of this canoe "
---------------
Just curious. Have you thought about brass bands? I put them on mine and have been very happy. I know they not necessary on a cedar strip and add a pound or two, but I can't tell you how many rocks I've hit where I've thought "OH SH$&". Then upon flipping over and checking it out it's just a tiny scratch on the brass and nothing more.
It also looks really nice.
07/04/2017 07:33AM
The beauty of building your own, is you know what it takes to fix them.
Lately, I've used 100% Polyester Fleece. (Sweat Shirt material). in place of Kevlar felt, for skid plates.
Polyester fleece will ad bulk on the high wear areas, and holds up very well ! It is also machineable ! Kevlar is not !
The poly is available in a wide variety of colors, so you can match, not to mention it's cheaper, and available at local fabric shops ! Walmart even has it.

Jim
Keep your paddle wet and your seat dry!
07/04/2017 07:48AM
I've also used brass stem bands on a SOF canoe and they have worked well. A lighter option would be aluminum stem bands. Carrying Place Canoe Works sells them on-line. I have not done any weight calculations, but aluminum might not weigh any more than a kevlar stem treatment and it would add less surface to the leading edge. In my opinion it would also look nicer.
11/09/2017 09:12PM
Project update:
I have not worked on the canoe for most of the summer. Finally the weather is turning cold and I am turning my attention back to the canoe. I am ready to glass the hull and this weekend it should get done.
"Boredom, Tyler - that's what's wrong. And how do you beat boredom, Tyler?... Adventure...(Never Cry Wolf, 1983)
11/11/2017 09:35PM
Jim
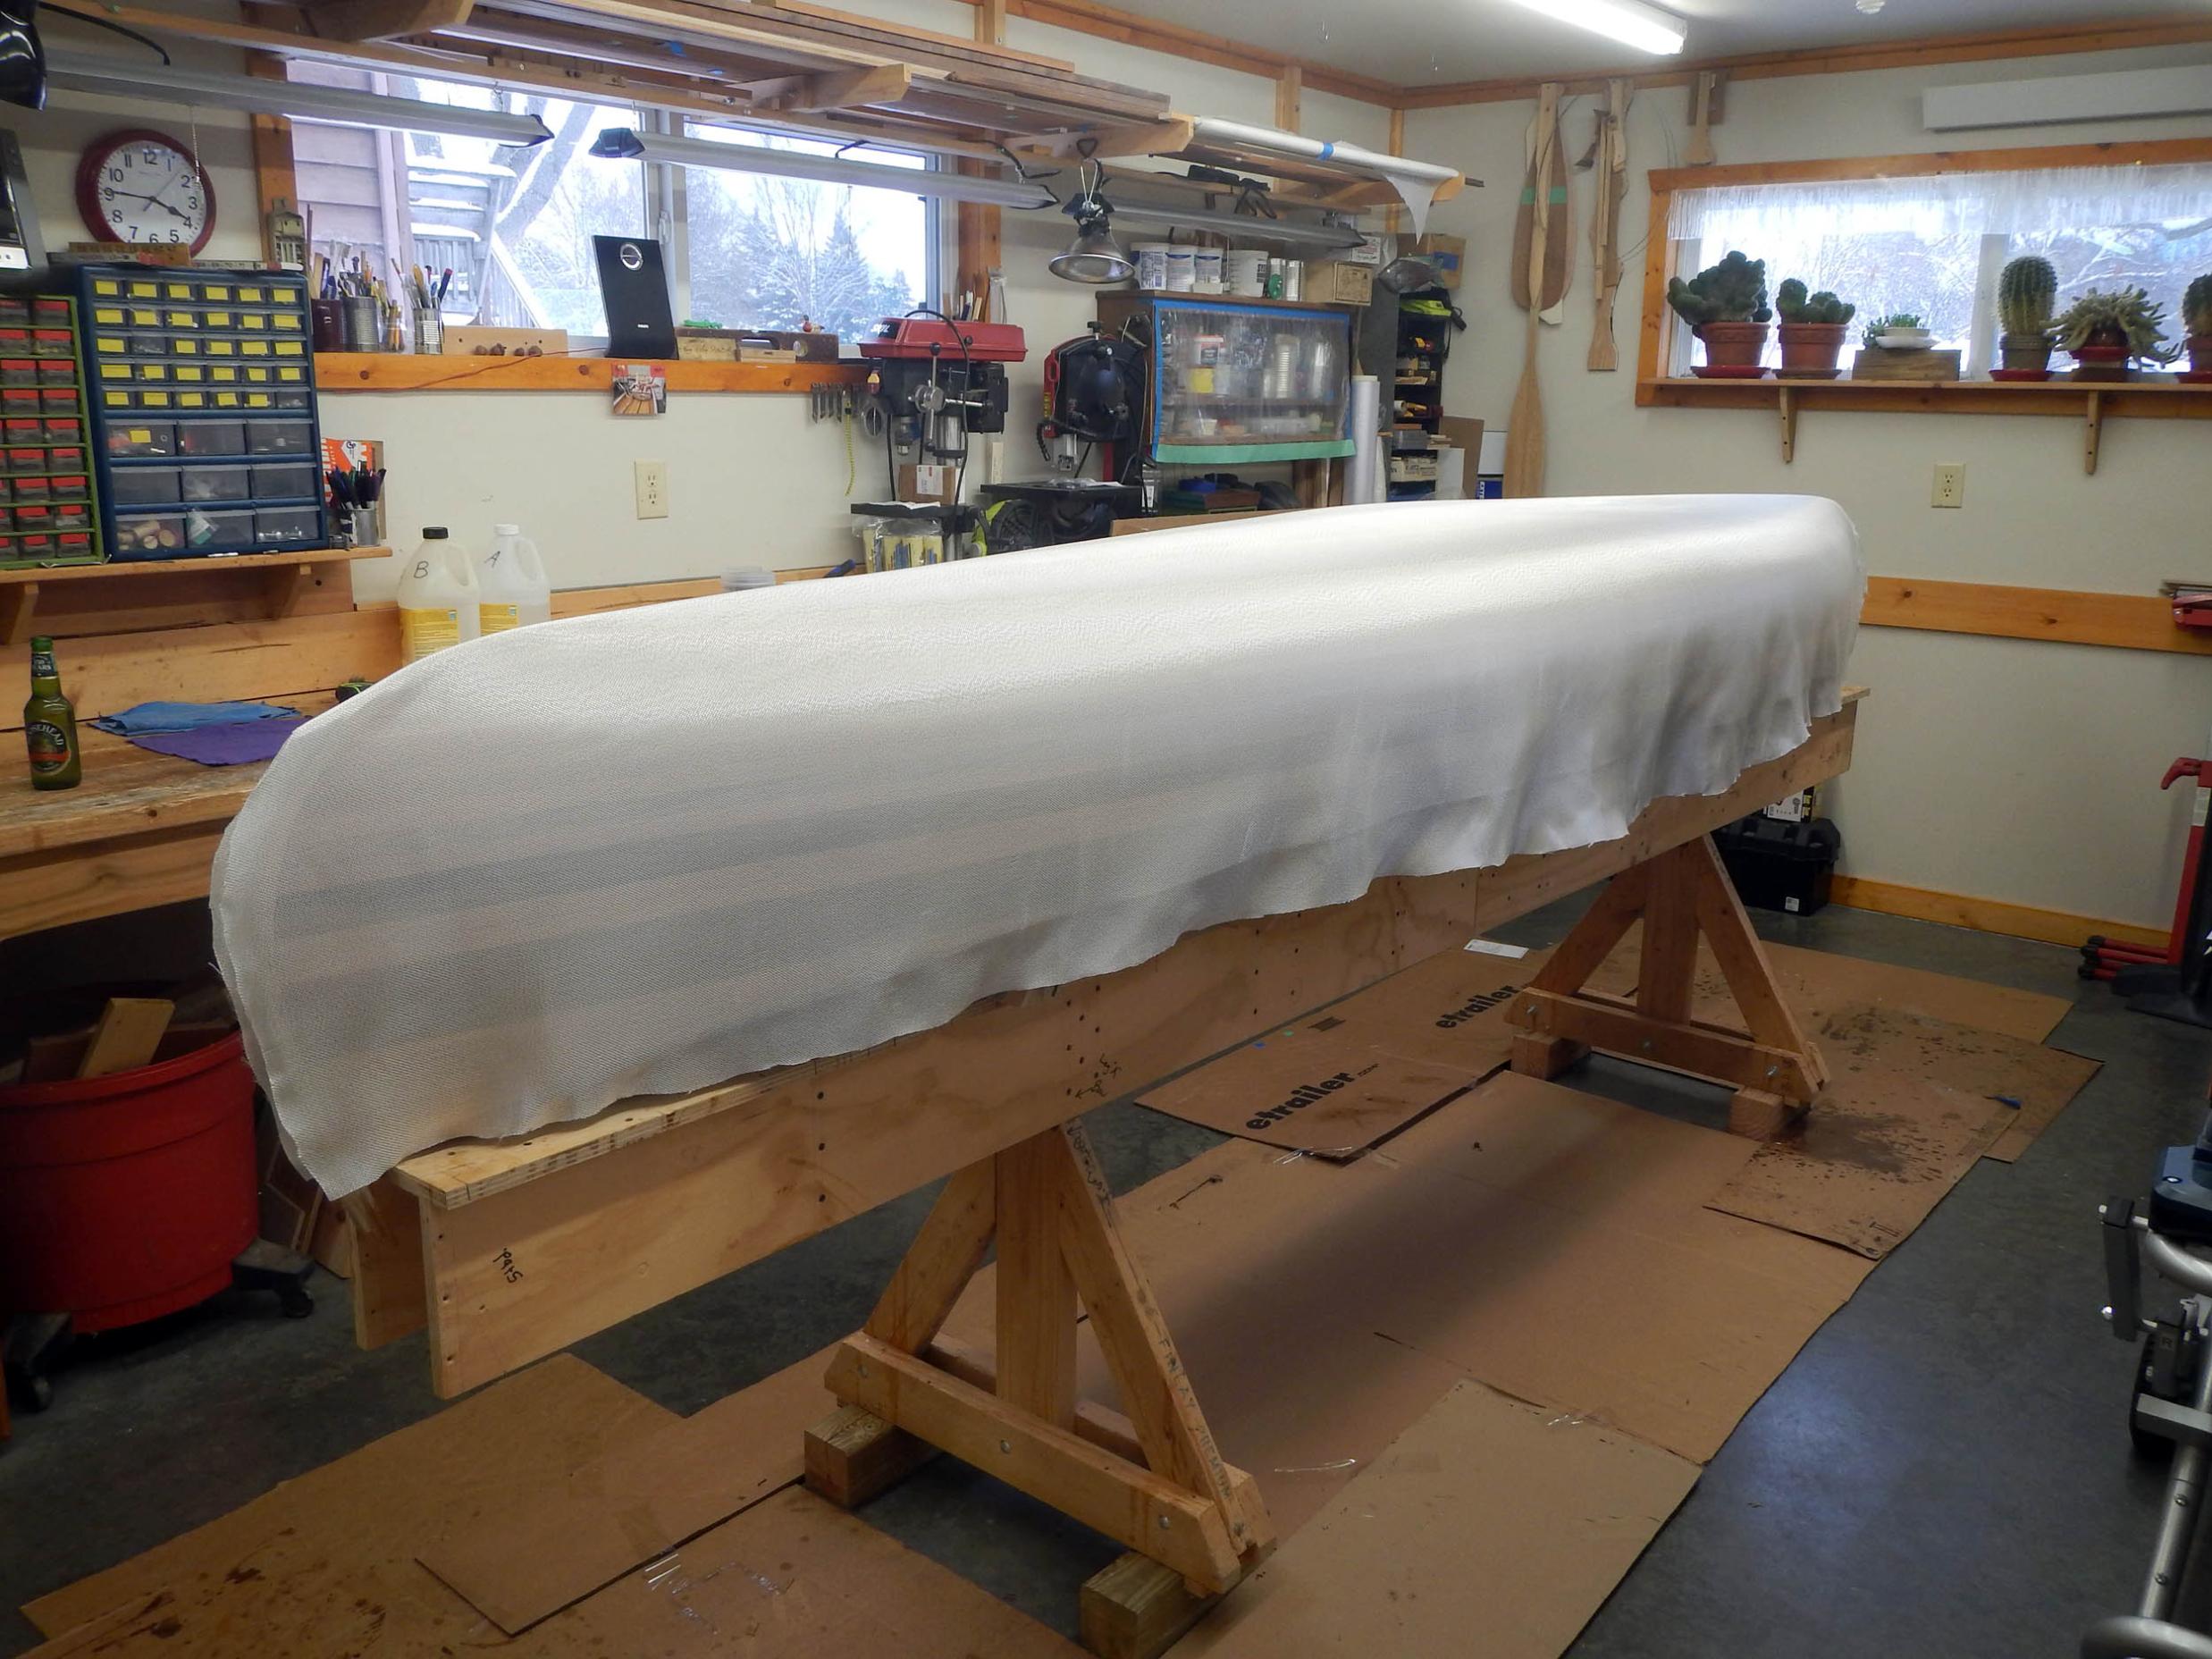
No double layer just reinforced stems kinda like shown in the Builder's notes of NW canoe. Picture after 1st fill coat and stems wrapped in bias cut cloth. I used 3 strips of bias cut cloth put down in a shingle fashion.
I have been trying new techniques as of late. The 1st coat of epoxy was put down in the usual way using brush and squeegees. But, the first fill coat was put down with a roller. I am sold on rolling the epoxy it really takes the guess work out.
Used Wooster T1Z 7"x1/8" foam roller covers, but cut each cover in 1/2 so I could use them on a 3" cage roller frame.

"Boredom, Tyler - that's what's wrong. And how do you beat boredom, Tyler?... Adventure...(Never Cry Wolf, 1983)
11/14/2017 09:42PM
Northman
The outer stem is fastened to the inner stem using thickened epoxy. I hold the two together with 5 strategically placed round head screws that have been coated with wax (so I can remove them). I usually let that assembly cure for 48 hours and then remove the screws. Once the screws are out I dowel the holes.
"Boredom, Tyler - that's what's wrong. And how do you beat boredom, Tyler?... Adventure...(Never Cry Wolf, 1983)
11/15/2017 07:27AM
Thanks for the explanation HPD. I'm a woodworker and build furniture but I've never had the courage to build a canoe. It's on my short list of things to do. I have plans for a 38 Special and have read several of the recommended books cover to cover several times learning the process.
11/15/2017 07:35AM
quote Northwoodsman: "Thanks for the explanation HPD. I'm a woodworker and build furniture but I've never had the courage to build a canoe. It's on my short list of things to do. I have plans for a 38 Special and have read several of the recommended books cover to cover several times learning the process."
My compliments on plan choice !
The .38spl (Bruce Kunz) is still one of my favorite solos !
Jim
Keep your paddle wet and your seat dry!
12/01/2017 10:05PM
Finally she is off the molds on cyber Monday. Before taking her off, I sanded the exterior. There are two jobs when building a cedar strip that I really dislike. #1 is sanding the hull after fiber glassing. I really hate epoxy dust and I am always fearful of cutting into the cloth (which I may have in a few spots). #2 is prepping the interior for fiber glassing. Getting into the close confines of the bow and stern are a challenge.
Well, here she is off the molds and looking very canoe like:

"Boredom, Tyler - that's what's wrong. And how do you beat boredom, Tyler?... Adventure...(Never Cry Wolf, 1983)
12/02/2017 07:59AM
Looks Great ! Lucky for you, that you don't have to hide the beauty of your canoe with Coast Guard numbers !
Yes, Sanding is a pain. Almost enough to send me in the direction of Skin on Frame building.
Again I like it !
Jim
Yes, Sanding is a pain. Almost enough to send me in the direction of Skin on Frame building.
Again I like it !
Jim
Keep your paddle wet and your seat dry!
02/15/2018 09:49PM
I jumped posting pictures of a few building steps. Cleaning and fairing the inside of the hull took the usual amount of patience and elbow grease. Glassing the inside went pretty nicely. My wife mixed and I applied. I stopped the main sheet of glass about 4" short of the stems. I then cut custom extensions of glass shaped to the stems to cover any bare wood. I was really pleased to be done with hull sanding and glassing.
On to wood trim which is my favorite part of building a canoe. I had a bit of a time with the gunwales and started a dedicated new post of that experience. You can read all about my problem and my solution there.
Note to builders: If you are building a canoe that has steep tumble home that is carried to the sheer then you best think about beveling your inwales if you want them to sit level (parallel to the water)
So here it sits on Feb 15. Next step is to take the gunwales off and glue them up with thickened epoxy.


"Boredom, Tyler - that's what's wrong. And how do you beat boredom, Tyler?... Adventure...(Never Cry Wolf, 1983)
03/05/2018 08:41PM
It is easier to see the end of the tunnel at this stage of the build. It is also easier to forget the tedious parts of building these canoes and start thinking when this is done, what do I do next ? Anyway some progress in picture form:
I could not decide what to do with the decks and finally decided simplicity is best. So I fitted one piece of cherry to bow and stern. After I put them in place, they looked boring and I decided to cut a groove for a black walnut inlay. This was my cutting jig.

The walnut inlay helped with the transition of color to my black walnut carry thwarts (handles)

Here is the canoe with inside trim (except seat) in place. Inwale, center thwarts, and decks are cherry. Carry handles are walnut.

"Boredom, Tyler - that's what's wrong. And how do you beat boredom, Tyler?... Adventure...(Never Cry Wolf, 1983)


03/06/2018 01:53PM
Jim
You have a keen eye for detail. This is my 3rd canoe and this canoe like her siblings has no means to drain water trapped on the underside of the deck when the canoe is flipped over. I have thought about doing a hole or some kind of fancy scallop to allow drainage, but that is as far as I went.
I seal all the undersides of the decks and inwales with epoxy so I am not real worried about wetting the wood. When I bring the canoes in and store them at home I go over the insides with paper towels to assure water is not trapped in there.
"Boredom, Tyler - that's what's wrong. And how do you beat boredom, Tyler?... Adventure...(Never Cry Wolf, 1983)
03/27/2018 09:17PM
Today was weigh in day. I was hoping to have a finished canoe in the low-30's. As it currently sits, with gunwales, thwarts, and carry handles attached, I get 35 pounds. Unfortunately I have a seat yet to install and varnish to put on. I'll probably be pushing high-30's. Anyway, here is the state of the build.

"Boredom, Tyler - that's what's wrong. And how do you beat boredom, Tyler?... Adventure...(Never Cry Wolf, 1983)
04/22/2018 07:57PM
The inside is now complete with varnish. Weight=38 lbs. I will now move on to putting 4-5 coats of varnish on the outside. The light at the end of the tunnel is shining bright.

"Boredom, Tyler - that's what's wrong. And how do you beat boredom, Tyler?... Adventure...(Never Cry Wolf, 1983)
04/23/2018 02:45PM
That's a beautiful boat. Very nice. I really like the interior. I haven't read the whole thread but I assume you did just one layer of epoxy on the inside.
If you can keep a wood solo under 40 pounds, you're above the curve.
To trim weight on that last pound, three costs of spar varnish is all you need to go. Yes, yes, four is great but three does the job. Ounces=pounds.
Tom
If you can keep a wood solo under 40 pounds, you're above the curve.
To trim weight on that last pound, three costs of spar varnish is all you need to go. Yes, yes, four is great but three does the job. Ounces=pounds.
Tom
05/03/2018 08:54PM
I think it is time to call it a finished canoe. I have 3 coats of varnish on the exterior, and this last coat went on without a flaw. I hate to disturb the finish for another coat, and frankly, I am tired of surface prep and varnish. I will let a sit for several weeks and then launch.

"Boredom, Tyler - that's what's wrong. And how do you beat boredom, Tyler?... Adventure...(Never Cry Wolf, 1983)
05/04/2018 09:45PM
I am no expert, but I am getting better and more confident (after I went to rolling and tipping). I already posted the details of my varnishing methods:
Rolling and tipping varnish
Dust and bad luck are the big enemies. I really concentrate on getting my shop as clean as I can before varnishing and that includes cleaning my ceiling florescent shop bulbs and wet mopping the ceiling. The rest of the shop gets a wipe down with a damp rag and the floor mopped.
I sand between coats with 320. Then I vacuum the shop and the canoe. I then get out of the shop and let any dust settle. Usually the next AM, I wipe down the canoe with a damp rag and mop the floor. Let things dry and just before varnishing I go over the surface with a tack rag.
Work fast, don't get rattled, and keep a wet edge. Put on music it helps me. My favorite varnishing music is on a CD by the Appalachian Picking Society. It takes me about 30-45 minutes to varnish.
I roll the varnish on in several directions over about 3 feet of the hull and check for holidays before tipping. Do not worry about air bubbles. Holidays (Skips) are tough to see but given the right angle, they pop out. Getting the right eyeball angle (for me) is a challenge. If it looks good, I then tip from wet side to dry. You have to land the brush on the wet side as gentle as possible (like an airplane). Try to avoid multiple passes with the brush. Do it once and stop even though the geek freak in you is saying hit it again. Once the varnish is down walk away from it and get to the other side. Any more "fine tuning" at this point will just mess it up.
"Boredom, Tyler - that's what's wrong. And how do you beat boredom, Tyler?... Adventure...(Never Cry Wolf, 1983)
Subscribe to Thread
Become a member of the bwca.com community to subscribe to thread and get email updates when new posts are added. Sign up Here
Community Links
 Search BWCA.com
 Donate
 Featured Sponsor