|
07/14/2015 11:10AM |
|
07/09/2015 02:41PM |
quote campcrafter: "I see those are integral hinges done on machine - yes?"
No, it's a cheap 12" hinge from the hardware store that I cut down to 10". I was looking for brass, but this is what I could find right off. Drilled and pop riveted, then popped out the ball from the rivet and hammered down. Sort of hard to see in any of the photos since you're always looking at the inside. Alternated rivet positions to allow it to fold flatter. Maybe some more detailed photos to come.
|
07/09/2015 04:13PM |
|
07/10/2015 02:41PM |
|
07/10/2015 09:15AM |
quote schweady: "quote campcrafter: "I see those are integral hinges done on machine - yes?"
No, it's a cheap 12" hinge from the hardware store that I cut down to 10". I was looking for brass, but this is what I could find right off. Drilled and pop riveted, then popped out the ball from the rivet and hammered down. Sort of hard to see in any of the photos since you're always looking at the inside. Alternated rivet positions to allow it to fold flatter. Maybe some more detailed photos to come.
"
Wow then nicely done
I might even beable to do it!
Thanks for the replies
Blue Skies!
cc
|
07/13/2015 09:47AM |
|
08/26/2015 10:19AM |


|
07/08/2015 09:14PM |
I'm sure I could have shaved a few ounces with a more spartan rack, but figured I might as well go all out. Sturdy, easy to assemble, square (within my tolerances, anyway), and may just last a few generations.
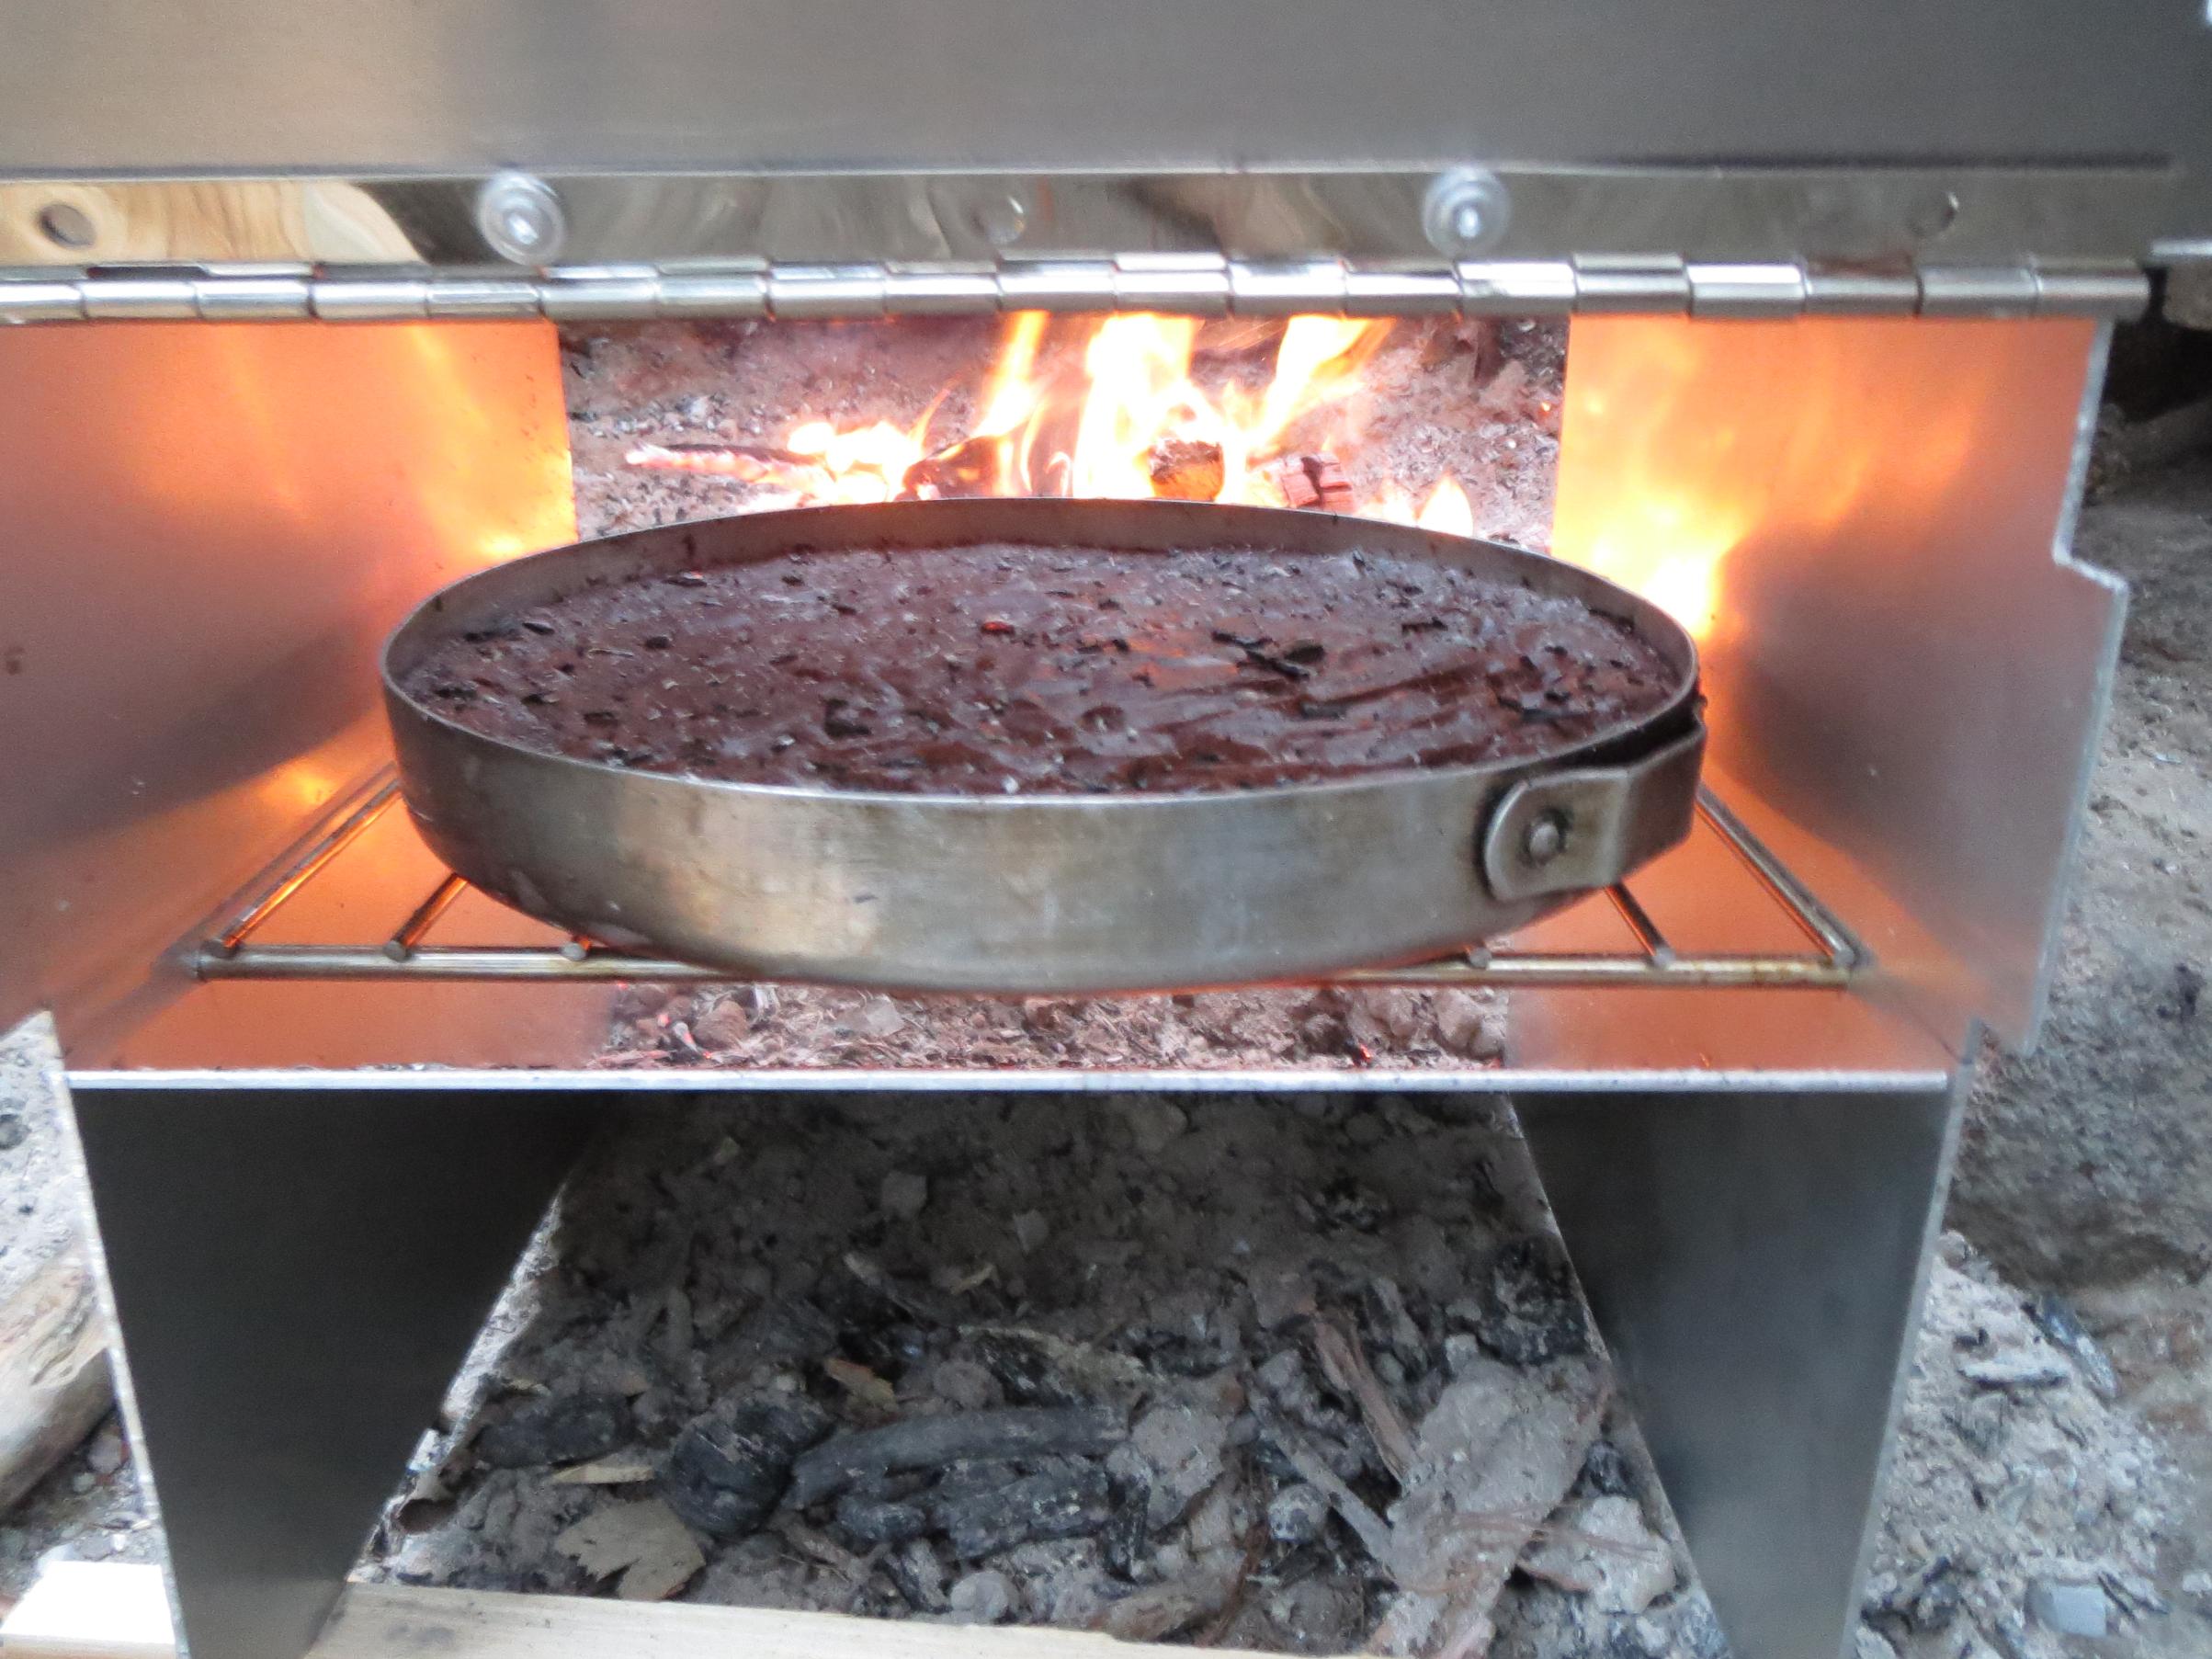
Features the hinged rear door for checking food away from the fire, tabs and pins design (I used simple cotter pins to secure them), and a junked oven rack that our local appliance dealer gave me and I cut down to size.
Now, I am searching for recipes.

|
07/08/2015 10:26PM |
That does look like some thick material, what's the total weight.
Can you post pics of back and the hinge, and maybe how it breaks down.
Fun to play and cook with, enjoy!
cc
|
07/08/2015 10:48PM |
A couple of pics from before I decided on the pin system and the rack:
None from the back, but here is the door opened.

and broken down into separate pieces.

|
07/09/2015 09:44AM |
I see those are integral hinges done on machine - yes?
I was thinking the Top lifted open not the back "door"
Let us know how it cooks
Blue Skies!
cc
|
07/09/2015 10:16AM |
|
08/26/2015 03:00PM |
|
08/26/2015 05:05PM |
|
07/10/2015 06:56PM |