|

Author
Text
")


03/30/2015 07:51PM
Very sexy. I'm curious what kind of wood the very light and very dark is. Love the contrast. And did you assemble the checker board design first and then apply the strip? Or build the design piece by piece on the hull? And what's with the double 2 lines on your cups?
03/31/2015 08:31AM
I'm guessing the 1st line is the epoxy fill line & the 2nd line is for hardener. That's a great & clean way to do it. I had always used separate cups and combined them. I think this put my mix off a little bit between cups/batches. I'd also put down a lot of sticky cups making my workspace that much messier & stickier.
Great idea!
Great idea!
03/31/2015 07:29PM
quote opolka: "Very sexy. I'm curious what kind of wood the very light and very dark is. Love the contrast. And did you assemble the checker board design first and then apply the strip? Or build the design piece by piece on the hull? And what's with the double 2 lines on your cups? "
I strip both sides up to where the light strip is, and then piece build it from there.
The wood combination is the white is Aspen, Menards has it. It's great to work with. Some of the dark is cedar, and some redwood.
This boat was built from leftovers, mostly from friends, that I machined strips for. When they are only building one canoe, they usually bring the leftover strips back to me.
I hate throwing things away !
Sharp eyes guys ! I did a double check on my cups, as I was needing more marked. The Red line is correct on these. I also used a different measuring container. Spooky that they didn't come out the same ! I have not had any problems in the past either ! Must be a fair amount of leeway in the epoxy ratio.
Jim
Keep your paddle wet and your seat dry!

04/02/2015 05:03PM
Aspen, I must give Al Gustafson(SPL) former owner of North West Canoe, credit for the idea.
Yes, those are knots. As I stated earlier the Pearl was stripped with leftovers.
I'd avoid knots if you can ! They may look cool, but require more work.
Given the choice, I'd go knotless everytime !
Jim
Yes, those are knots. As I stated earlier the Pearl was stripped with leftovers.
I'd avoid knots if you can ! They may look cool, but require more work.
Given the choice, I'd go knotless everytime !
Jim
Keep your paddle wet and your seat dry!
04/03/2015 01:53PM
The reason you avoid knots is they hold tree sap and epoxy wont saturate the knot as well as it does clear wood. They have been known to cause the boat to delaminate at the knot. Always start with good clear strips, no knots. Sorry don't mean to offend, just a very important part of building that nobody ever seems to address. A lesson I learned for Al.
CB
CB
04/22/2015 10:38AM
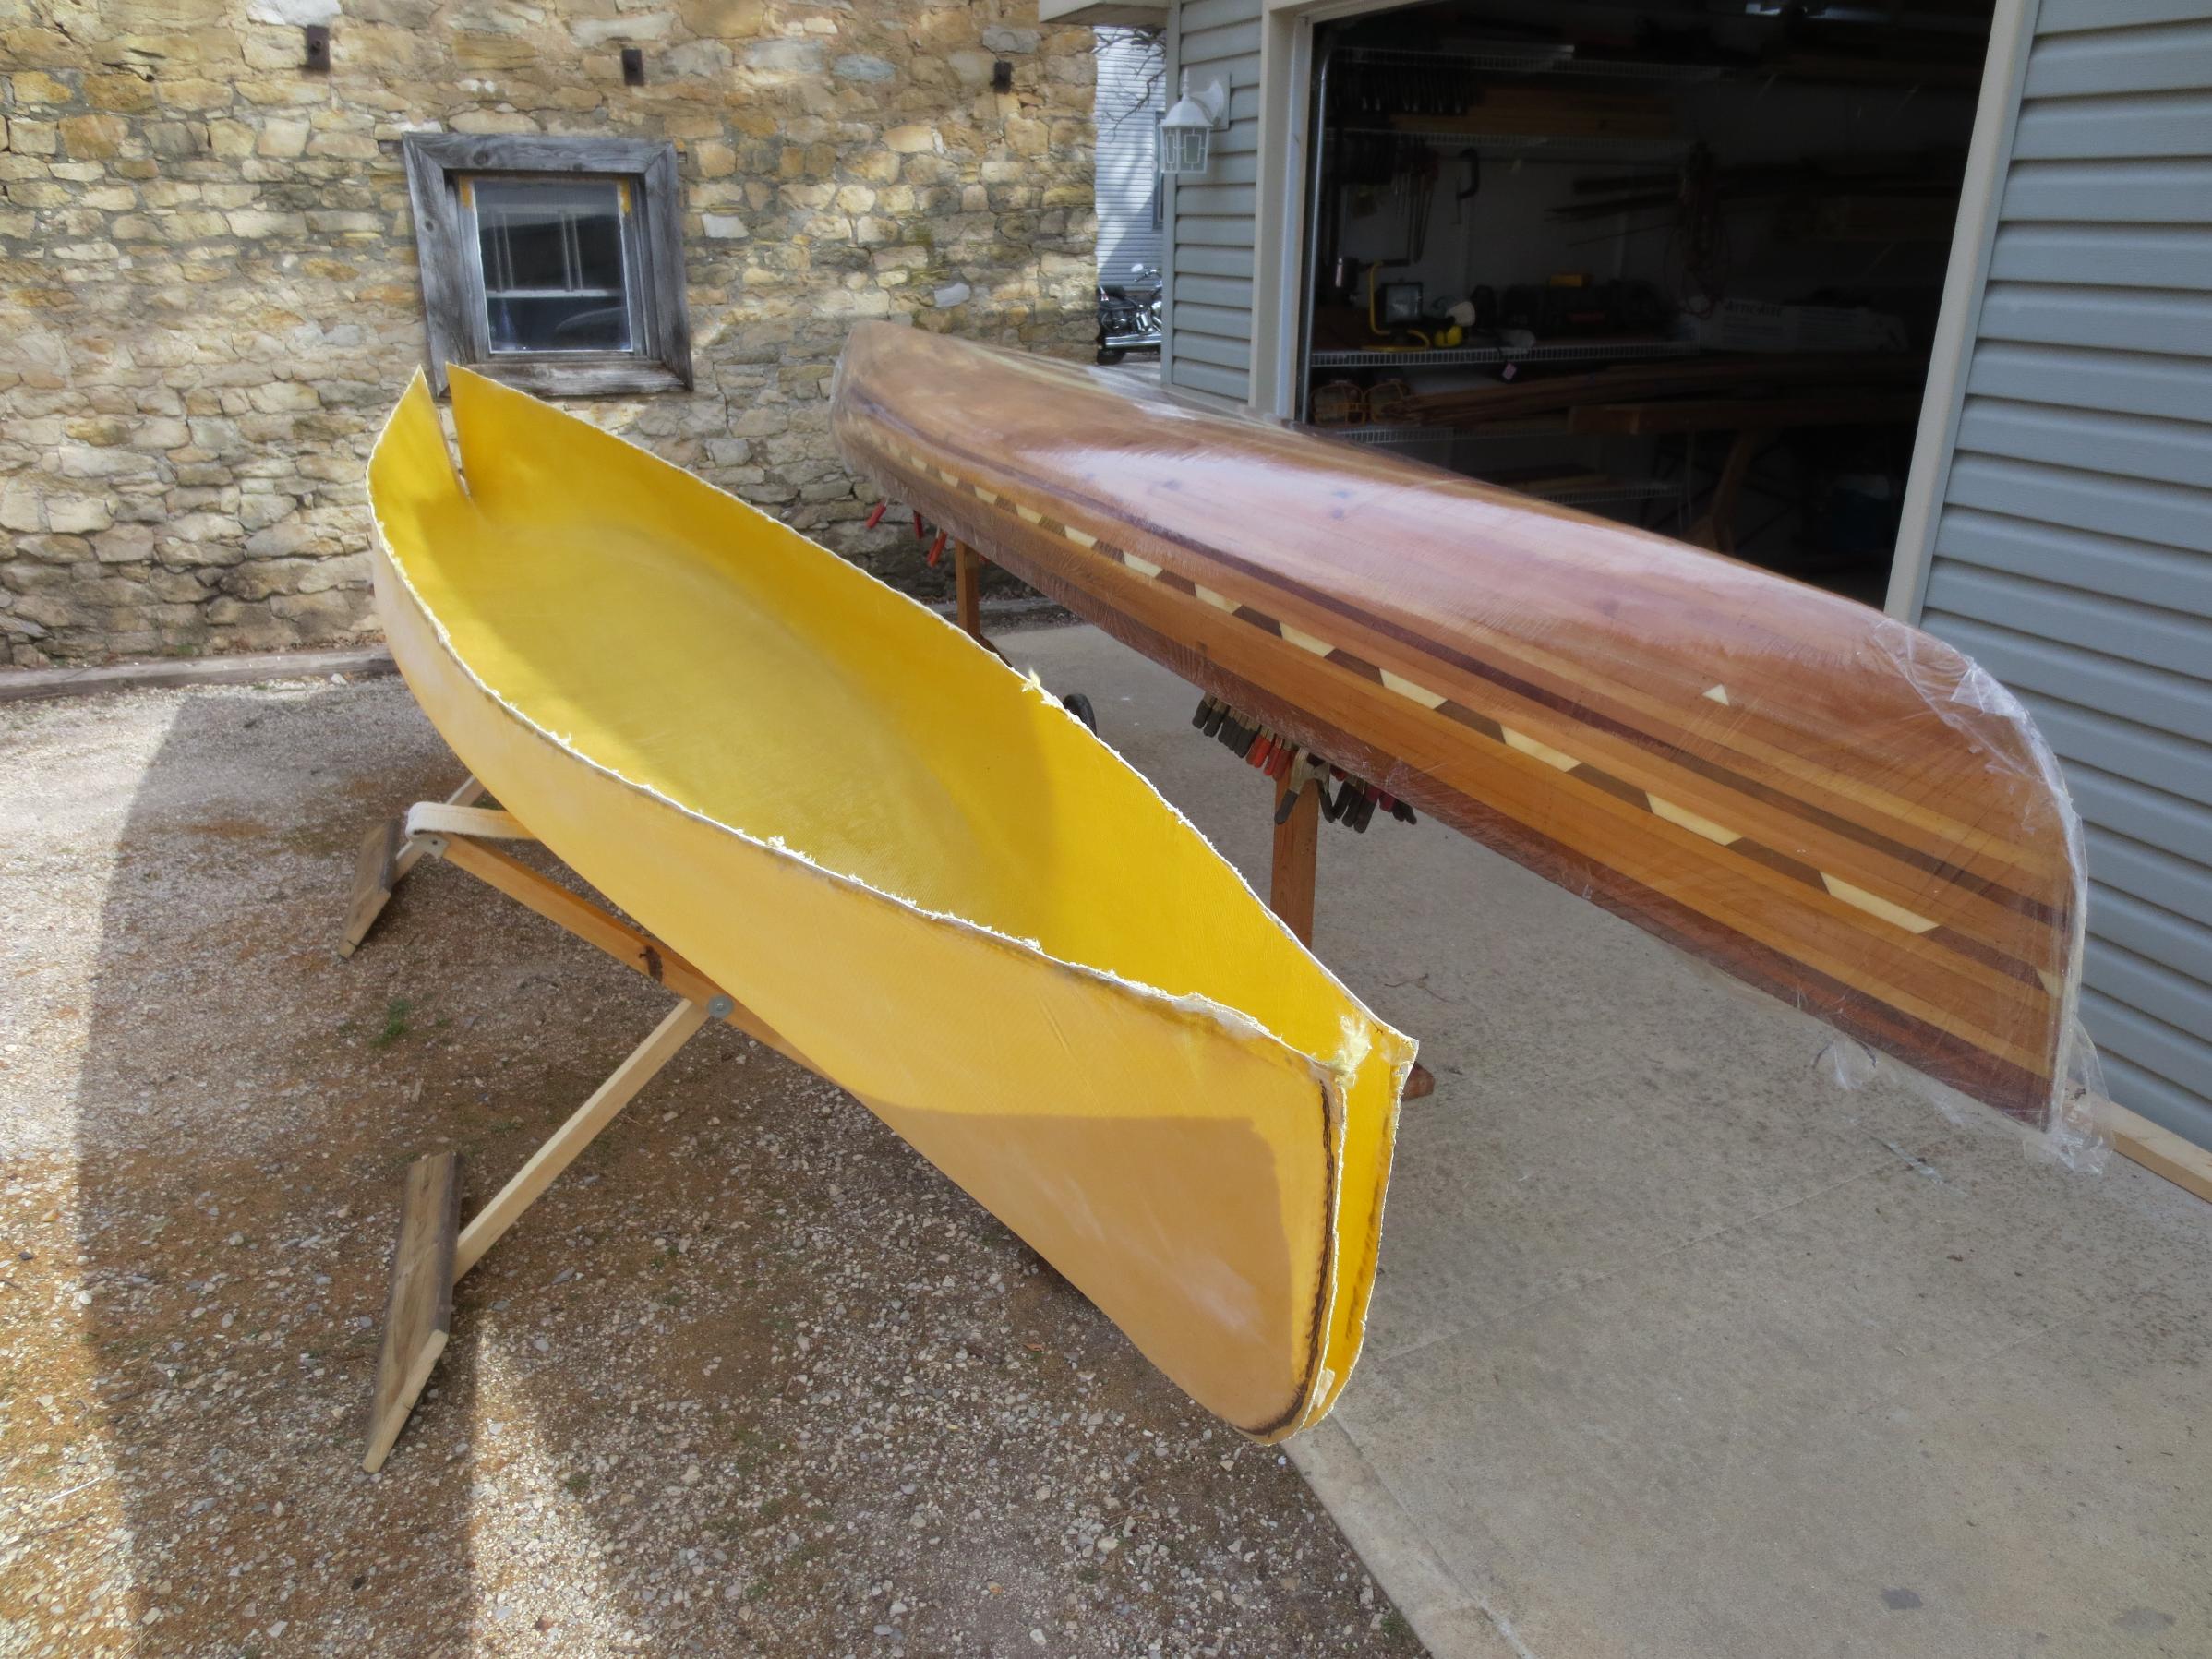
Pulled the Kevlar hull off of Pearl.
Sanded the outsides of both, and Pearl is off the forms.
Time to weigh.
The Kevlar, with a layer of 6 oz E-glass, and a layer of 6 oz S-glass up to about the 6" waterline, weighs in at 15#. I'll be adding more glass, and a wood insert to the floor, but 15# is great.
Pearl with a layer of 6oz E-glass, and a layer of 6 oz S-glass to about the 4" waterline weighs 30#.
Quite a difference !
Heres a pic.
Jim
Keep your paddle wet and your seat dry!
05/02/2015 06:02PM
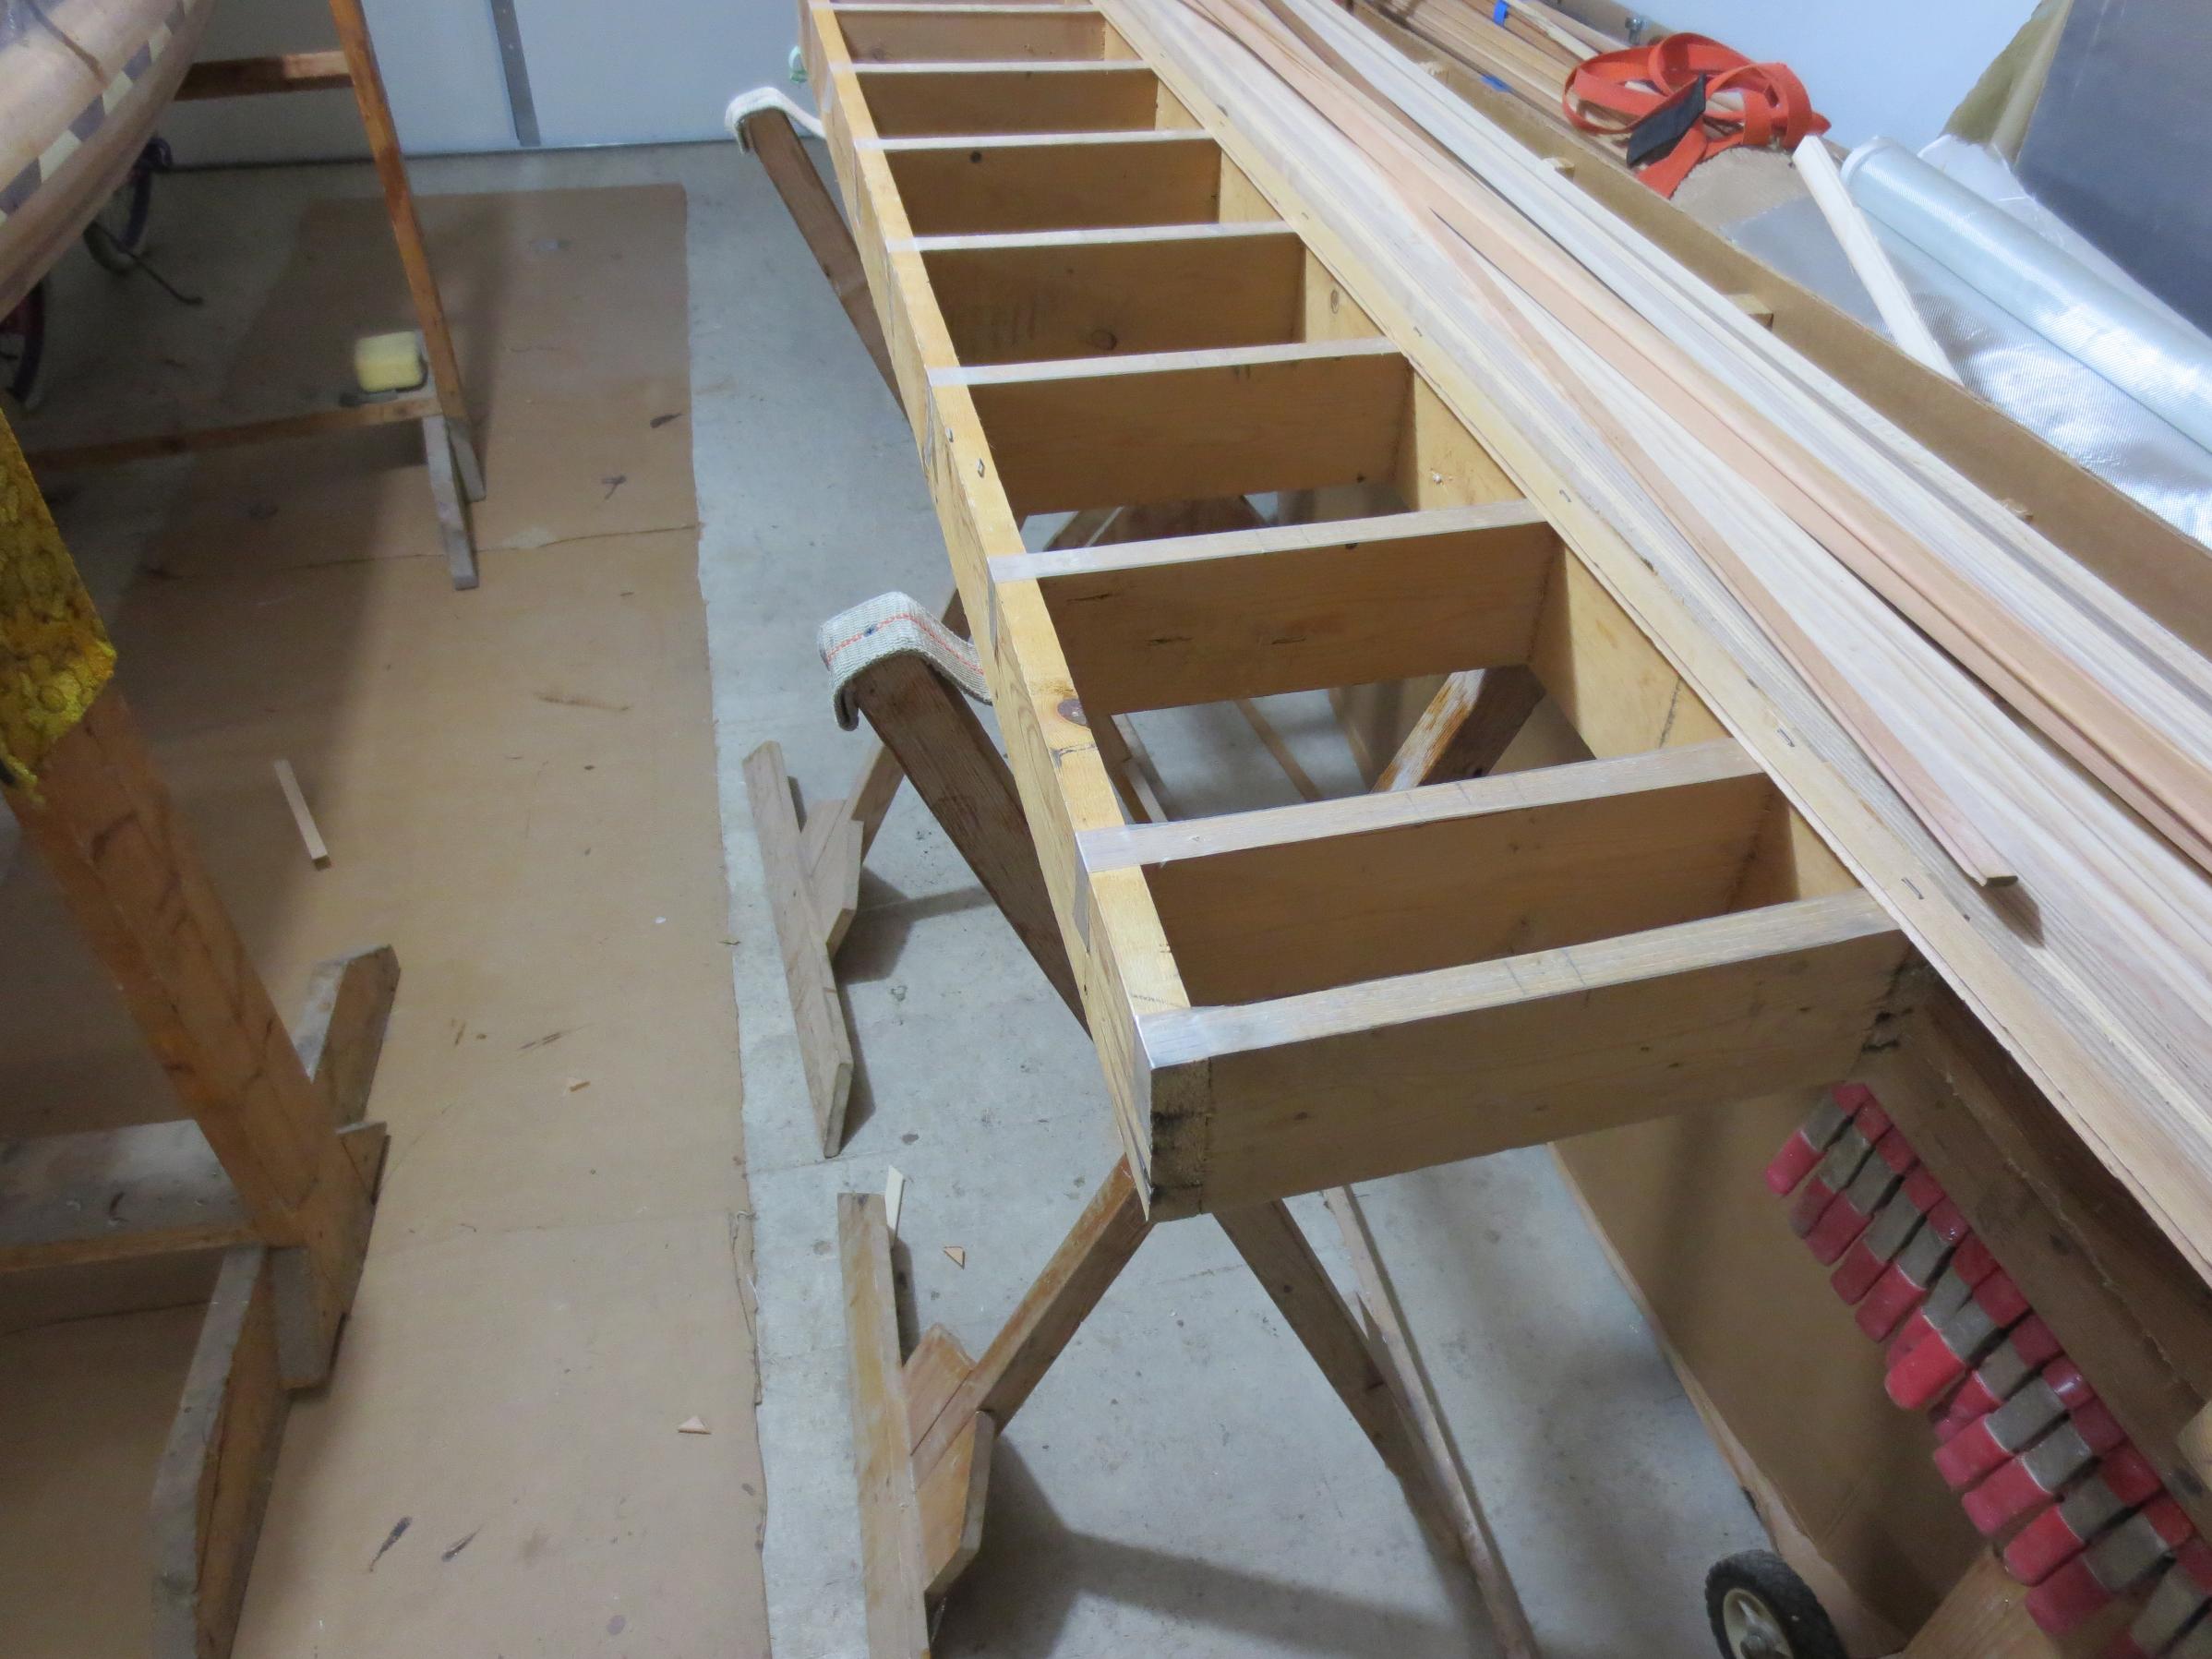
Have the inside of Pearl sanded.
Because of the tumblehome, I needed to hand sand most of the hull, Those foam pool noodles cut about 5" long work great with sand paper wrapped on them !
I also used stiff sanding discs, the kind they put on big angle grinders, I believe they come in 36, and 50 grit. They work great, to get into the ends ! The 5" ones, are flexible enough to wrap around pool noodle foam. I finished up with 150 grit. One could stop with 80 or 100 grit. I had the time to sand.
Here's a couple of pics. Notice the center form is still in on one ! I believe strapping it in, holds the hull in shape, until I glass the inside.

Jim
Because of the tumblehome, I needed to hand sand most of the hull, Those foam pool noodles cut about 5" long work great with sand paper wrapped on them !
I also used stiff sanding discs, the kind they put on big angle grinders, I believe they come in 36, and 50 grit. They work great, to get into the ends ! The 5" ones, are flexible enough to wrap around pool noodle foam. I finished up with 150 grit. One could stop with 80 or 100 grit. I had the time to sand.
Here's a couple of pics. Notice the center form is still in on one ! I believe strapping it in, holds the hull in shape, until I glass the inside.


Jim
Keep your paddle wet and your seat dry!

05/03/2015 09:30AM
Looking good. You can tell the weather is getting nicer by the lack of new content on the forums. I'm really enjoying watching everyone doing the same projects in so many different ways. Great way to find something that works for me.
I got the inside of my build sanded last night and am starting that glassing in about an hour. Gonna be a good day for it!
I got the inside of my build sanded last night and am starting that glassing in about an hour. Gonna be a good day for it!
05/03/2015 09:35AM
quote 1JimD: " Favorite hand sanding tools for the inside of the hull.

Jim"
Thanks for the tips. I didn't have too many issues with the main part of the inside of the hull, but the tumblehome and sides by the stems was a pain (as I'm sure you are all aware). Ill have to try this idea on my next build and see how much easier it makes my life.
05/07/2015 07:26PM
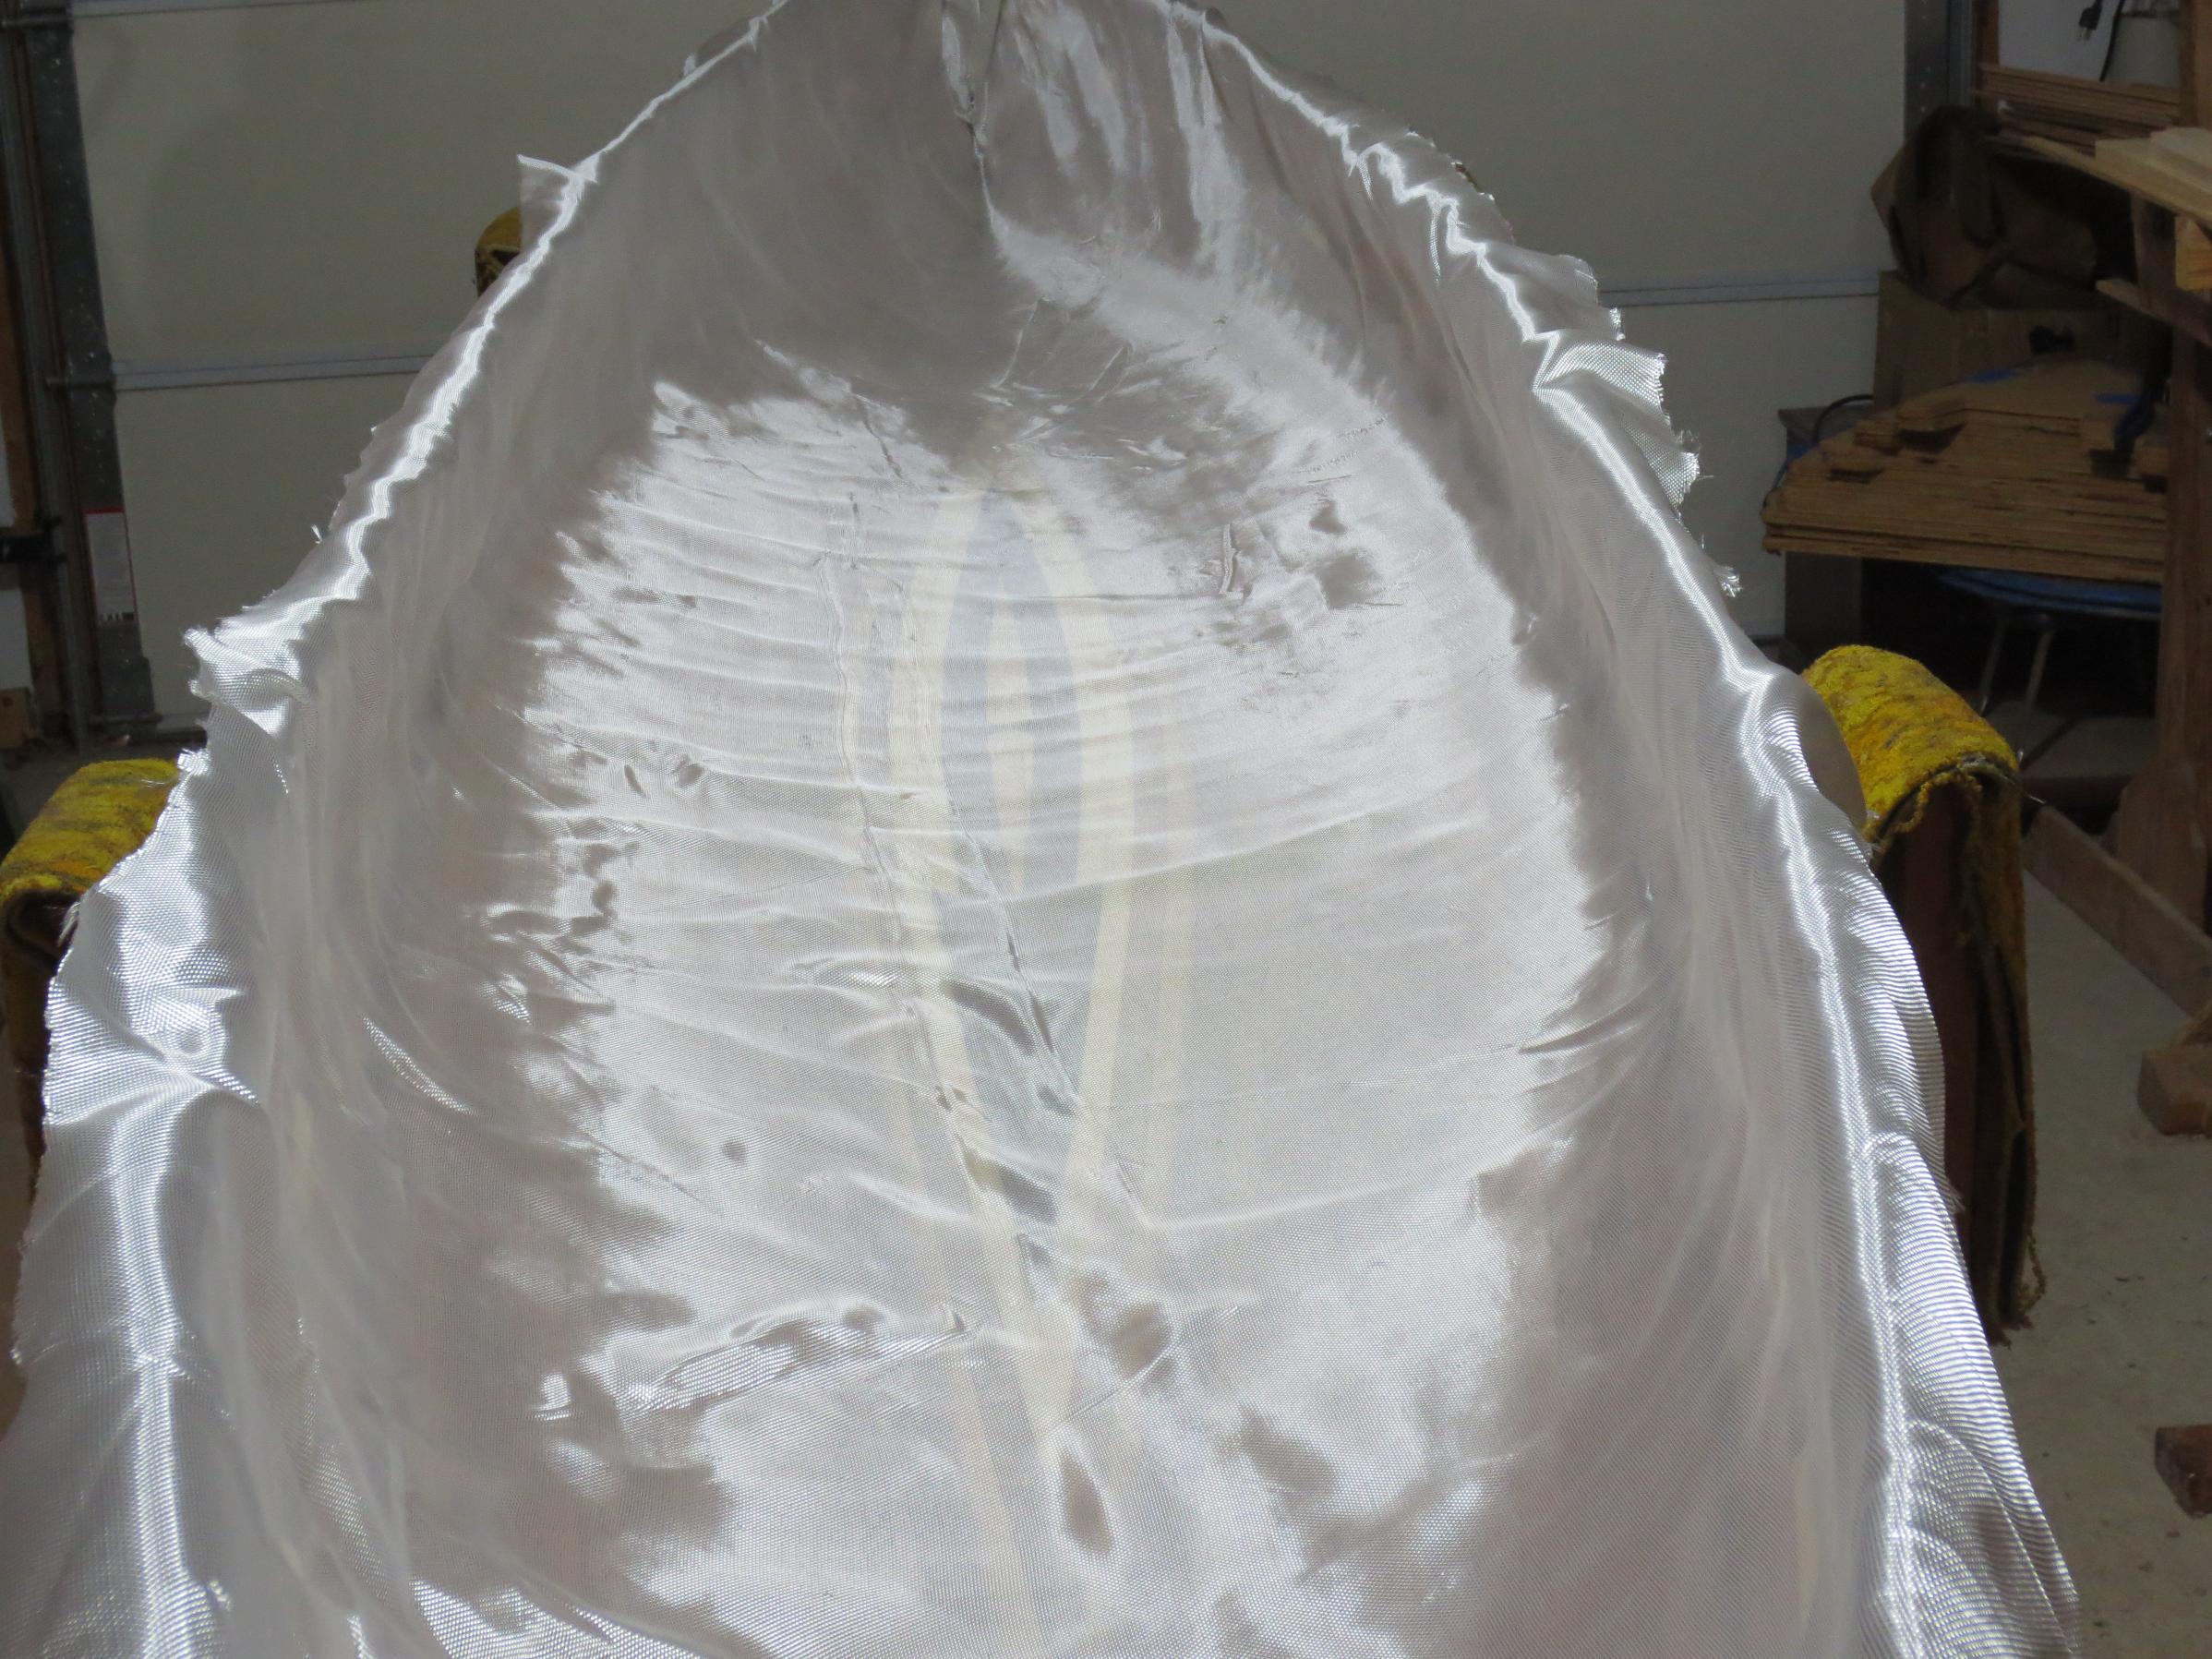
Inside cloth laid in 
Cloth wetted out
I had several places that out gassed, and left little craters. Air bubbles caused by air trapped in the hull, or from staple holes. When the resin starts to cure, it creates heat, and air in the hull expands and forms a bubble. I usually deal with this by heating the hull with a blow drier. This usually works, but not this time.
I believe I've got it controlled.
Now I will leave the canoe undisturbed for about a week. Next , install flotation chambers.
Jim
Cloth wetted out

I had several places that out gassed, and left little craters. Air bubbles caused by air trapped in the hull, or from staple holes. When the resin starts to cure, it creates heat, and air in the hull expands and forms a bubble. I usually deal with this by heating the hull with a blow drier. This usually works, but not this time.
I believe I've got it controlled.
Now I will leave the canoe undisturbed for about a week. Next , install flotation chambers.
Jim
Keep your paddle wet and your seat dry!


06/14/2015 09:48AM
Pearl has been feeling neglected lately with me spending so much time on my Kevlar Pearl.
So I cut gunnels and decks. Have the decks fitted.
One thing about this point in the build, I seem to relax and enjoy the work more than the glassing part.
Anyway here is a few pics.

 All my spring clamps are busy !
Jim
So I cut gunnels and decks. Have the decks fitted.
One thing about this point in the build, I seem to relax and enjoy the work more than the glassing part.
Anyway here is a few pics.

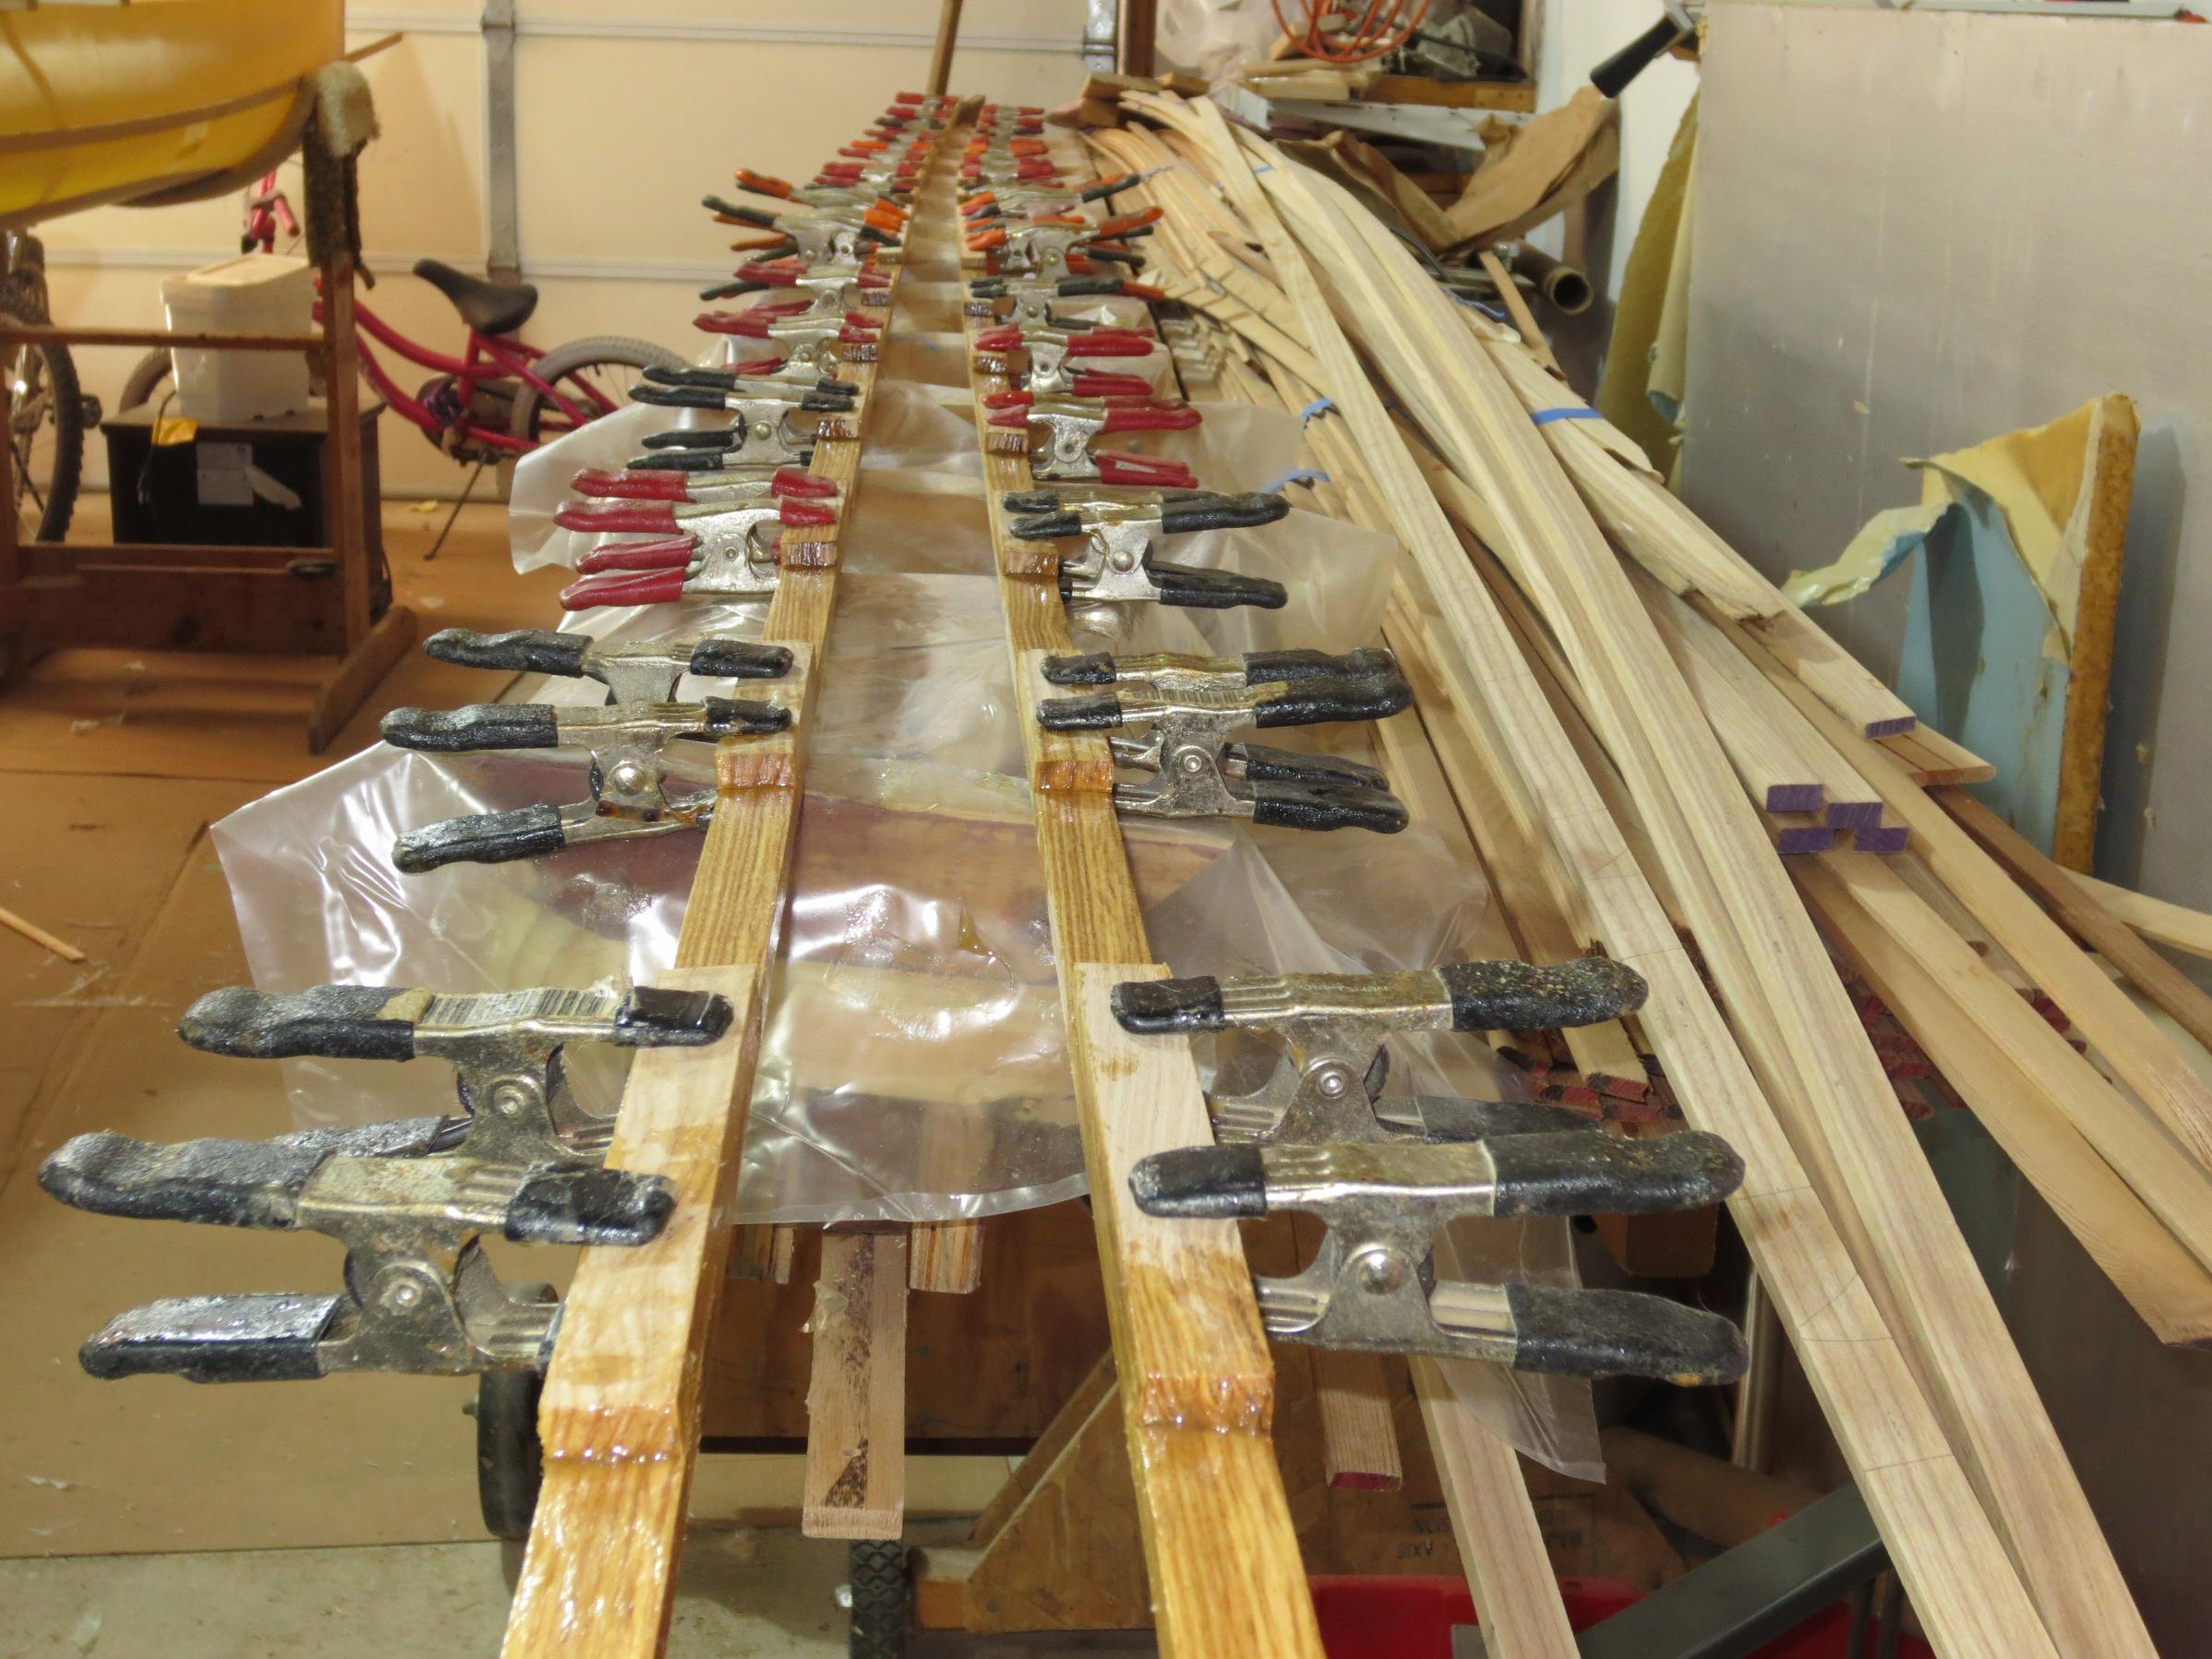 All my spring clamps are busy !
Jim
Keep your paddle wet and your seat dry!


08/09/2015 10:09AM
Hi Jim
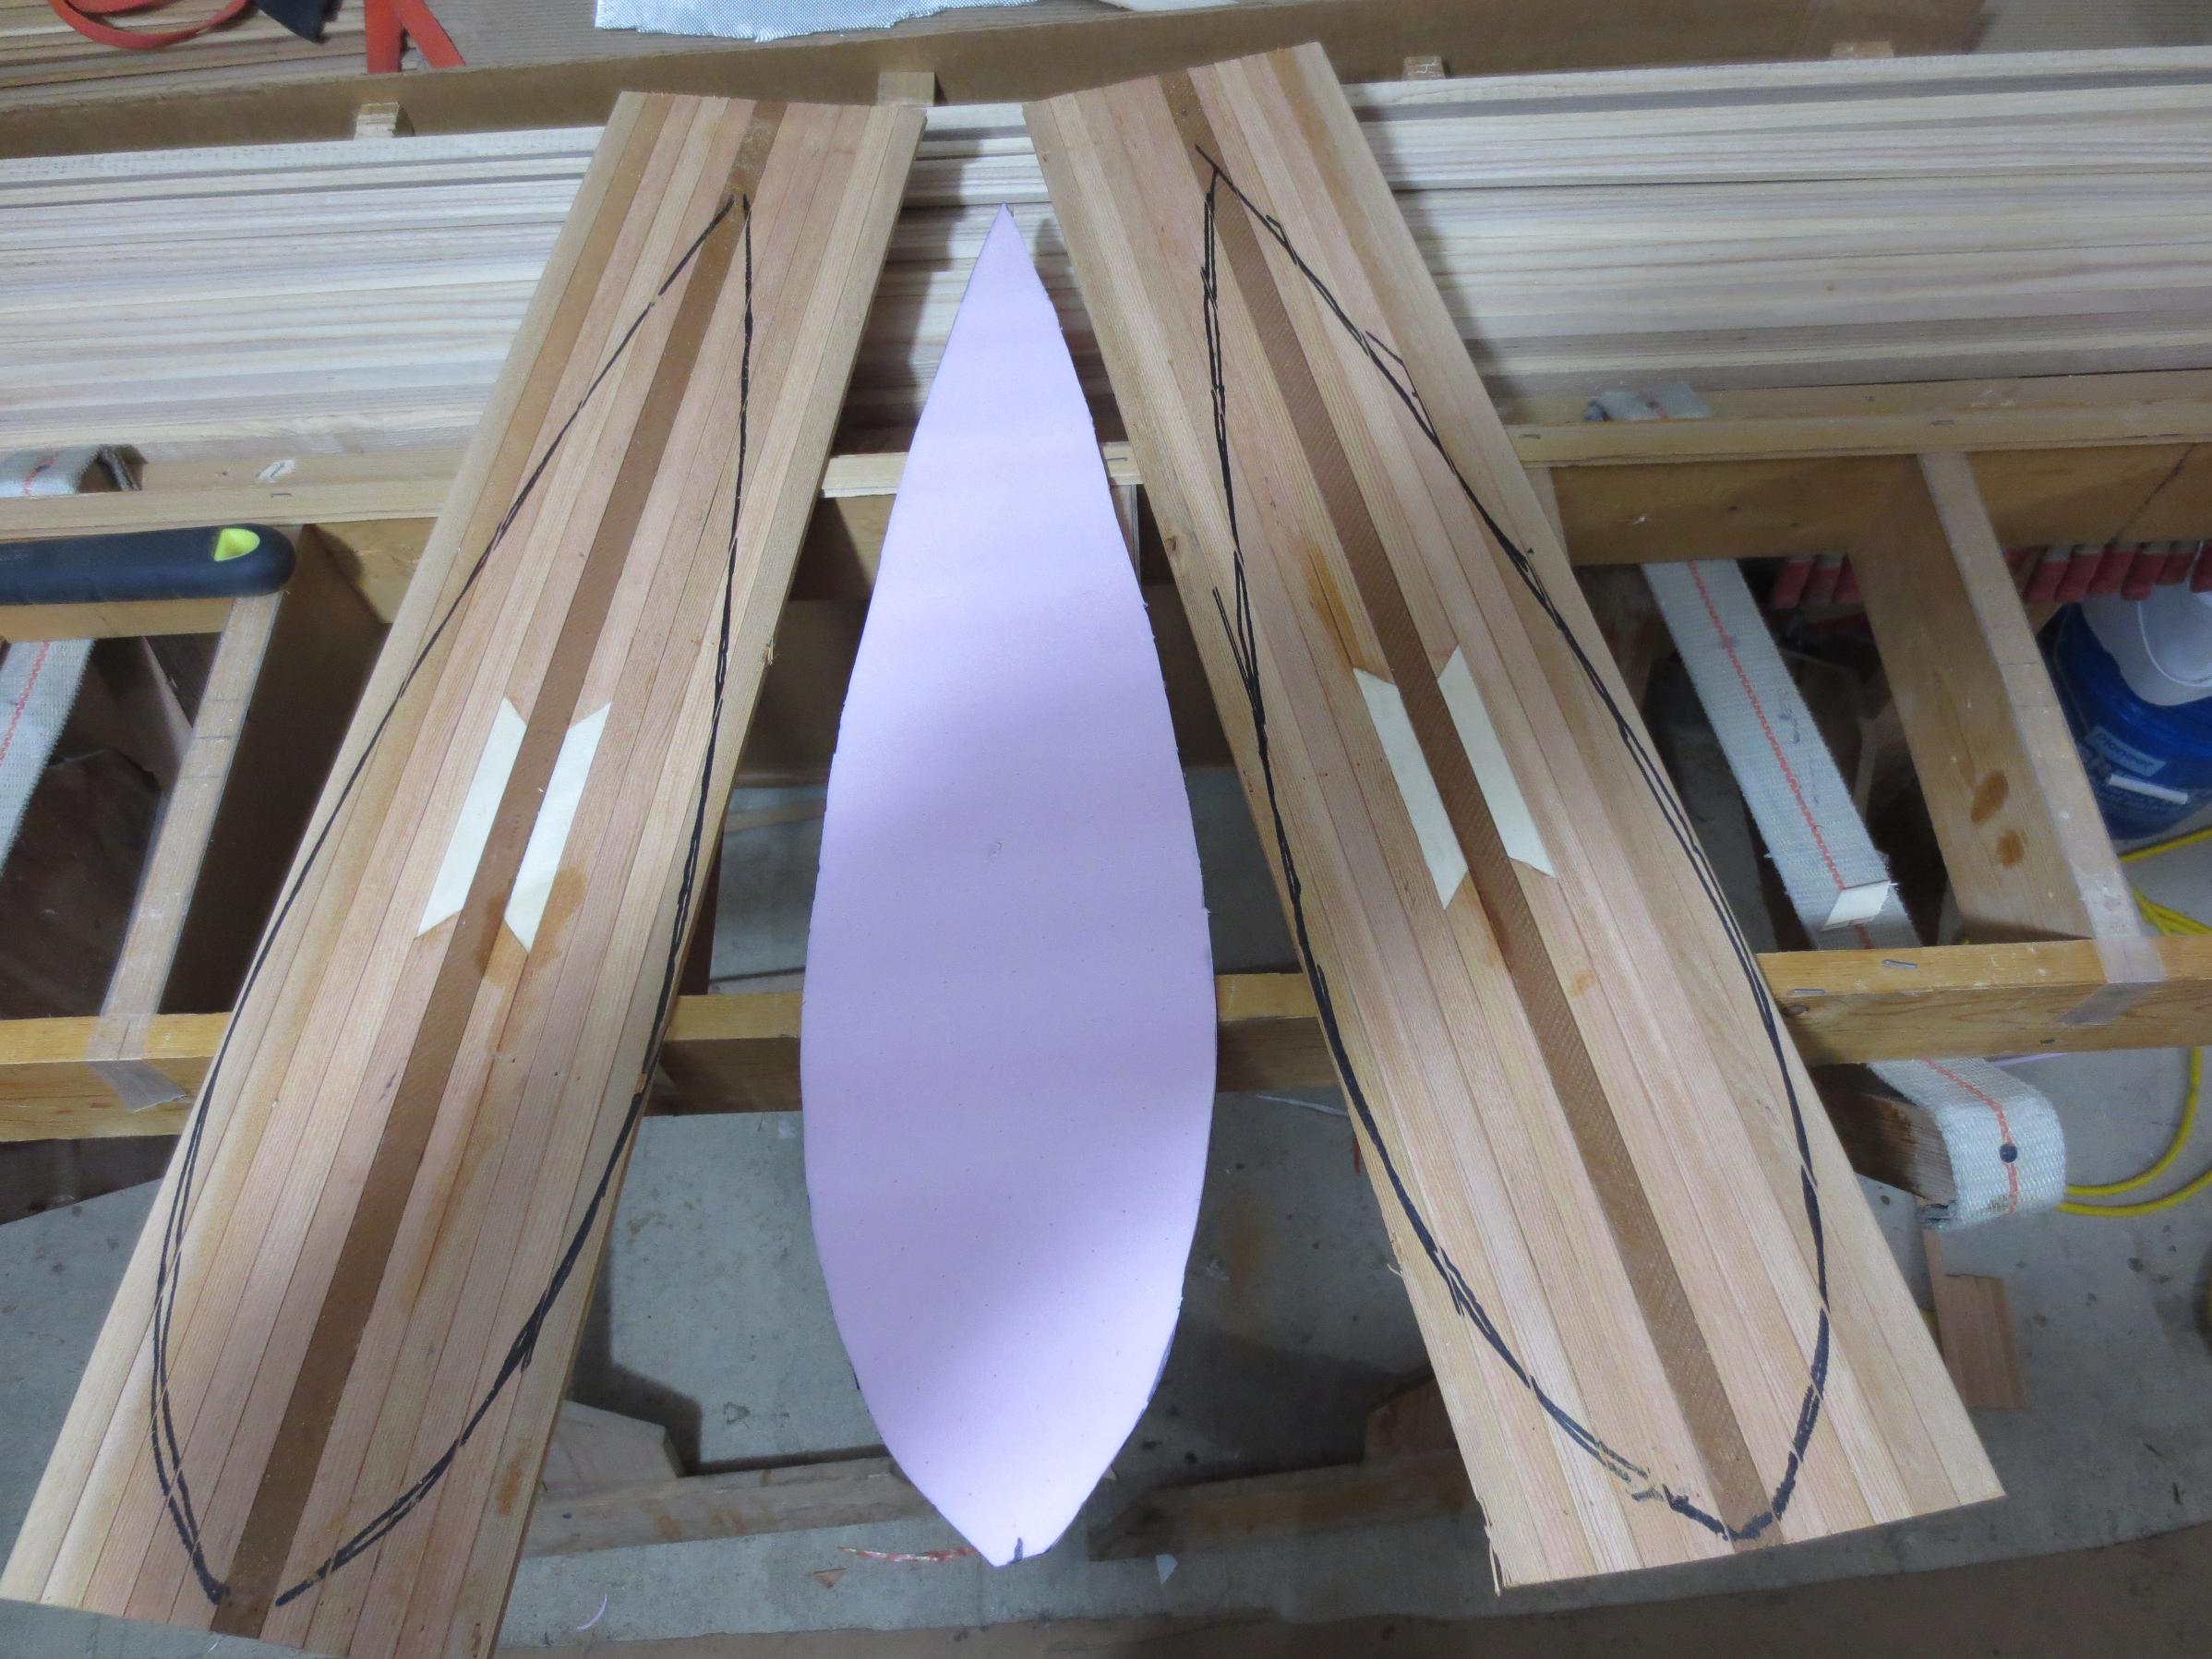
I like the canoe paddle shaped flotation tanks on either end. Have you thought of making some paddles to match those? Probably not practical to make them out of those materials. I assume they'd be a bit fragile.
One question on those tanks; Are they as much a way to hide the bow and stern areas as opposed to a necessity on a composite boat that has no inherent flotation? Is the buoyancy of the cedar core sufficient for a boat like this? Just wondering about your thoughts on this since I'll be building my first boat this coming winter.
08/09/2015 12:21PM
Hi MKDIXON
I could make paddles to match, and someday probably will. Cedar is fine, so long as you reinforce with fiberglass.
A cedar strip hull will float, just barely above the waterline. If you push it down, it takes a long time to return to the surface. I've tipped over enough times, that I'm sold on the flotation chambers !
My main purpose of the tanks IS flotation ! I always completely finish the ends, but you don't need to sand the inside ends as much. It also provides an opportunity to personalize your craft.
I wouldn't consider building without flotation !
Jim
Keep your paddle wet and your seat dry!


Subscribe to Thread
Become a member of the bwca.com community to subscribe to thread and get email updates when new posts are added. Sign up Here
Community Links
 Search BWCA.com
 Donate
 Featured Sponsor